How to Make a Crocheted Journal Pouch, Homemade Bullet Journal Supplies
Hey! I’m showing you today how to make a crocheted journal pouch for your bullet journal supplies. You can be a beginner crocheter to make this pencil pouch. I’m going to show you how I made this crochet pen pouch, but use this as a crotchet guide and get creative! Make sure to check out the free instruction printable
Hey guys! It’s Chloe again from @bulletjournalbychloe and I’m showing you today how to make a crocheted journal pouch. You don’t need to be an expert to make this pouch. I’m going to show you how I crochet but use this as a guide and get creative! Make sure to check out the free printable at the end for the instructions to keep to hand.
Use can use my affiliate code bujochloe10 to save 10% off your purchase
Supplies
Add you will need photo
Archer & Olive journal: I’m using A5. If your journal is a different size, alter the measurements
Crochet hook: I’m using a 10mm hook
Wool/yarn: I’m using a crunchy fluffy wool
Scissors
Okay… go grab your supplies and let’s start making a crochet pencil pouch!
Step 1: Chain
Start with a slip not and chain 18 loops (18 for a tight fit, add more if you want a looser fit). Loop the wool around the hook and pull it through. (See video for reference)
Step 2: double crochet
Now you will double crochet down the row. Insert the hook into the hole, wrap the wool around your hook and pull it through two loops. You will be left with two loops on your hook. Loop the wool around again and pull through the two remaining hooks. Repeat this process down the row. When you finish a row, chain 1. This will help create height for your next row.
Step 3: Repeat
Repeat step 2 as many times as you need. Keep going until you have a rectangle that wraps all the way round your journal. If you want a looser fit, add more rows until you get to the desired length.
Step 4: Attach the sides
Now you need to connect the sides together. Fold the rectangle in half and crochet along the side. Tie it off and repeat on the other side.
And that’s it! You now have your very own journal pouch. You can go further with this by adding latches or a zip. I hope you enjoyed this tutorial and can see how easy it is to create!
Video
Want to see more? Check out this video to see how I made mine!
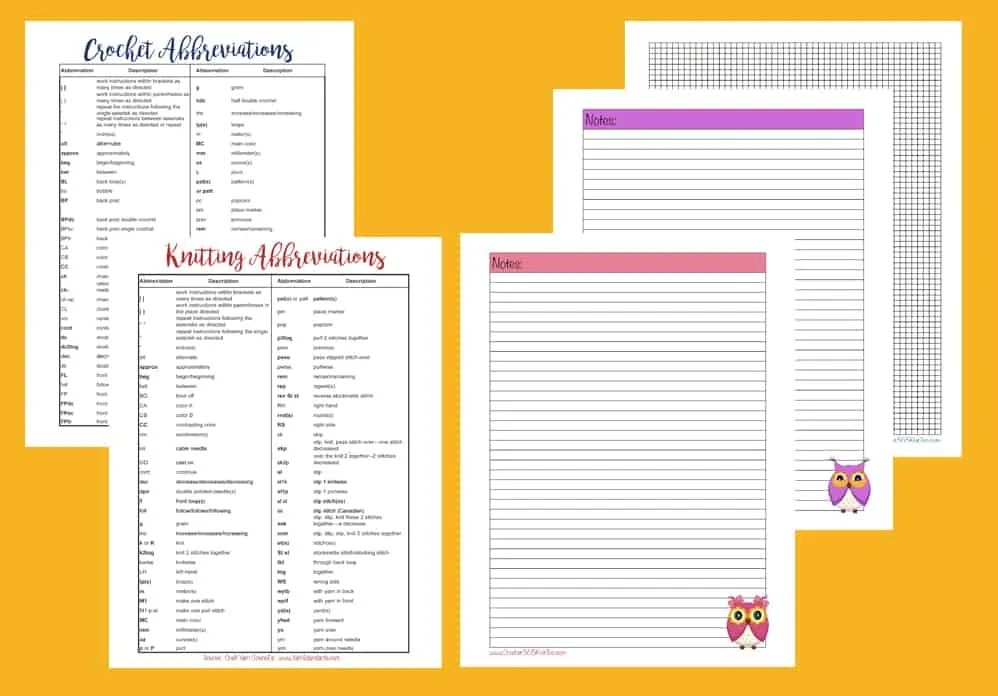
Printable
Finally, make sure you grab your free printable as a guide or to print out for your journal:
I hope you enjoyed this blog! Make sure to tag me (@bulletjournalbychloe) and Archer and Olive (@archerandolive) in any of your creations and use the hashtag #AOShare #archerandolive! Have fun getting crafty!
How to Make a Crocheted Journal Pouch, Homemade Bullet Journal Supplies

BULLET JOURNAL CROCHET IDEAS

How to Make a Crocheted Journal Pouch, Homemade Bullet Journal Supplies

My pocket-sized life - KT's Slow Closet
The Hobbii Crochet Journal will help you keep track of all your current and previous crochet projects. The journal has a sensible size, a soft cover, and 80 pages made from nice and thick paper (FSC mix and Nordic Swan Ecolabel) as well as a bookmark flap to help you keep track of the page you’re on.
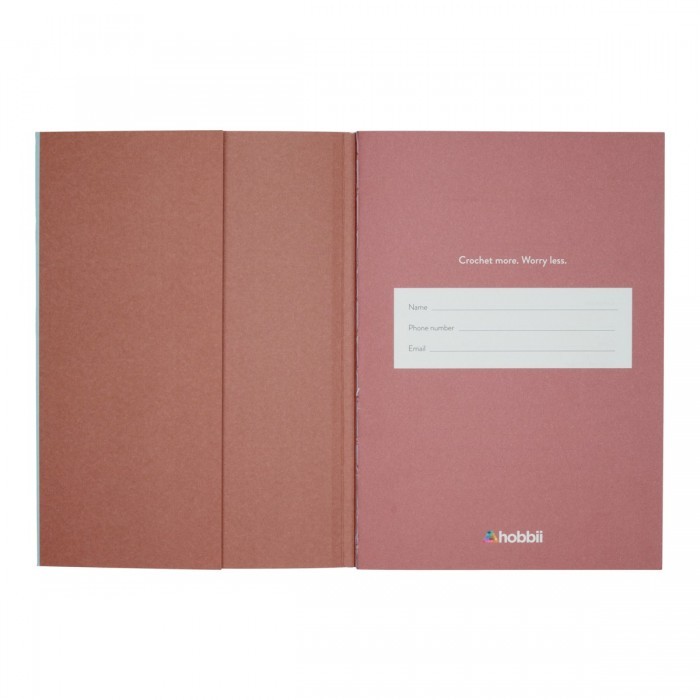
Hobbii - Crochet Journal - Blue
How to Start a Bullet Journal: The Ultimate Guide for 2024
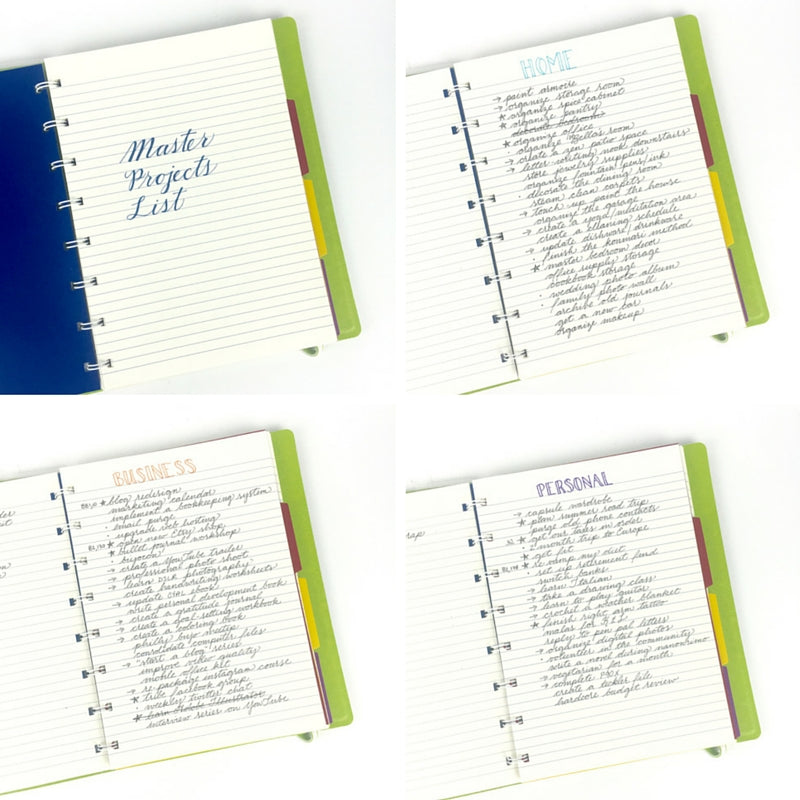
How to Craft a Better To-Do List - Bullet Journal
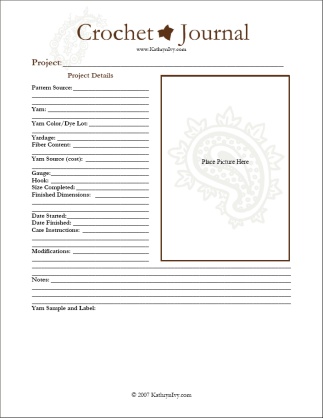
How To Make A Crochet Project Planner And Why You Need One

Pink Bullet Journal Supplies - Organized 31

How To Make DIY Planner Folder Pockets (Perfect For Happy Planners) - Hello Creative Family

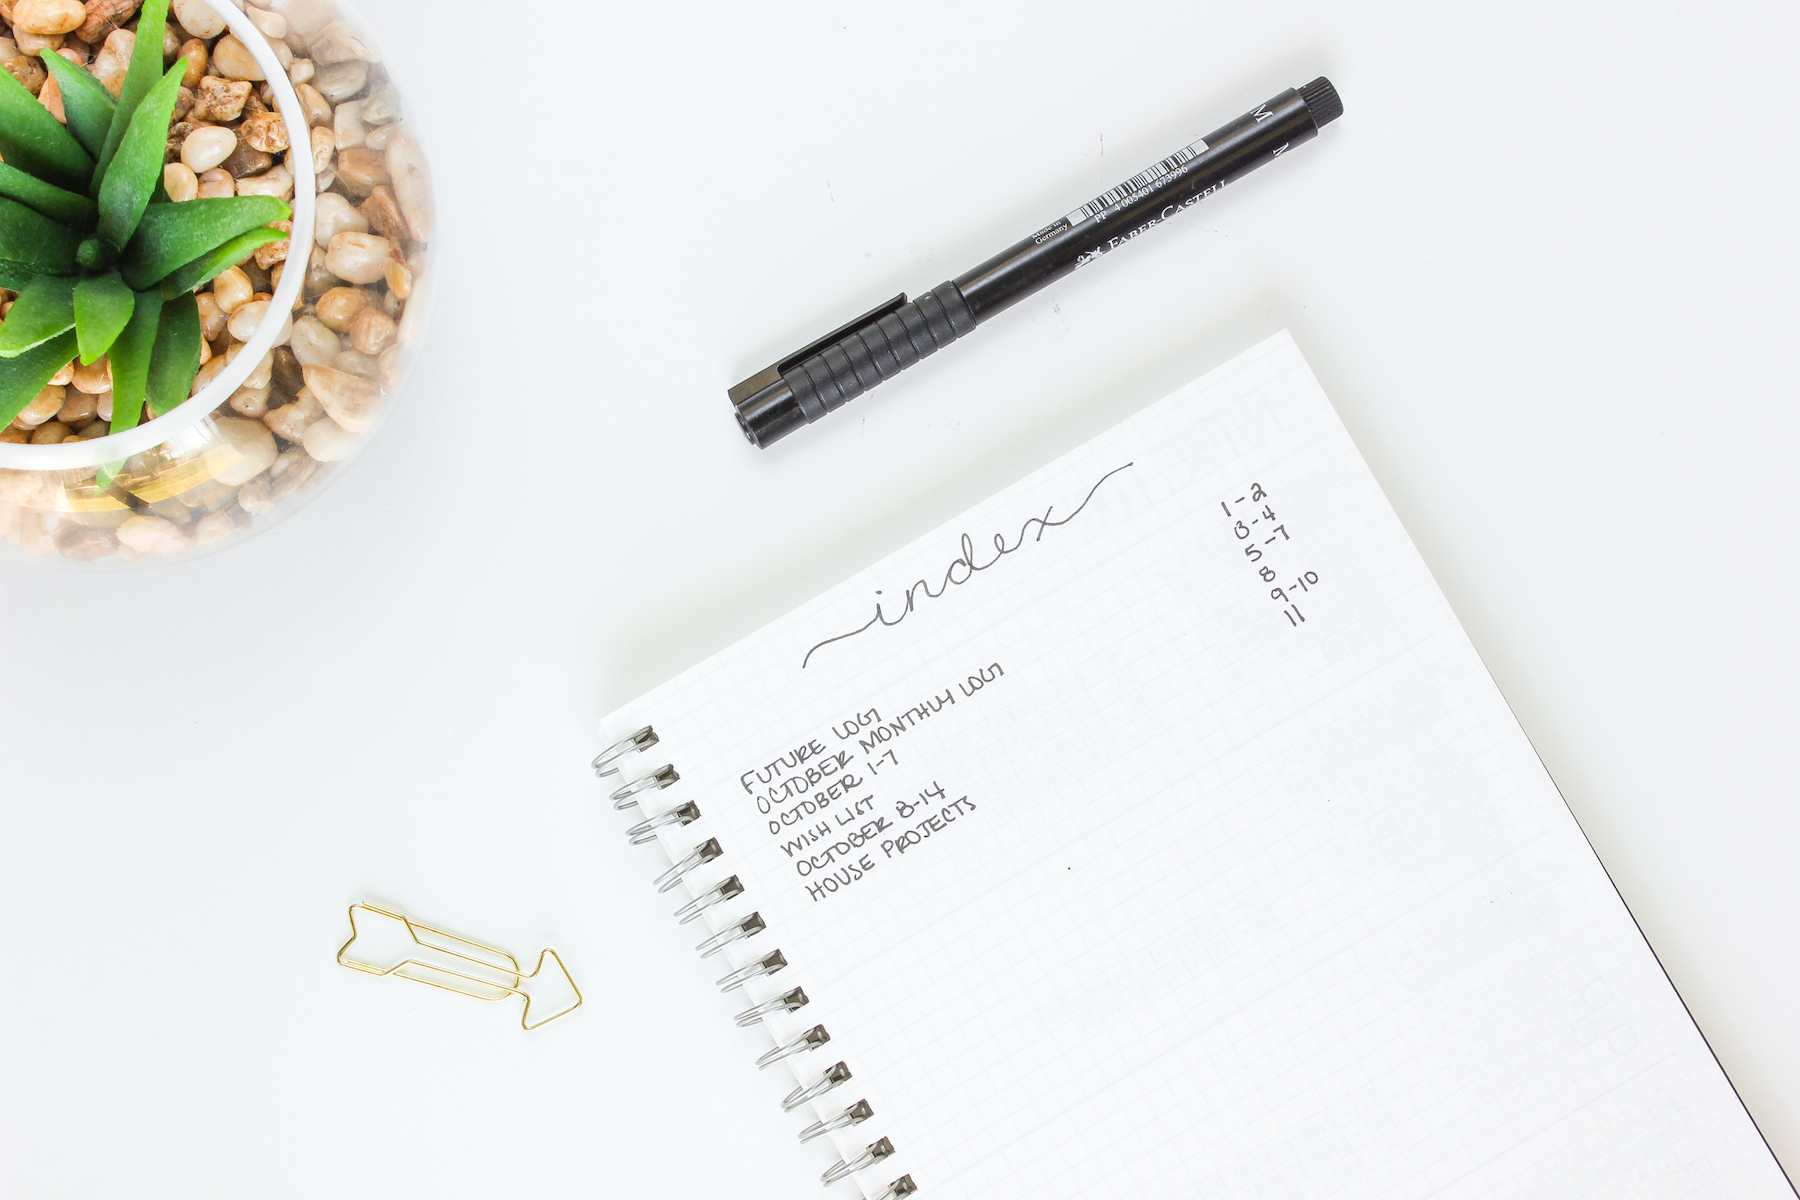
An Index Page for a Bullet journal and planner