Quick 20 Leather & Vinyl Repair Kit – Leather World Technologies
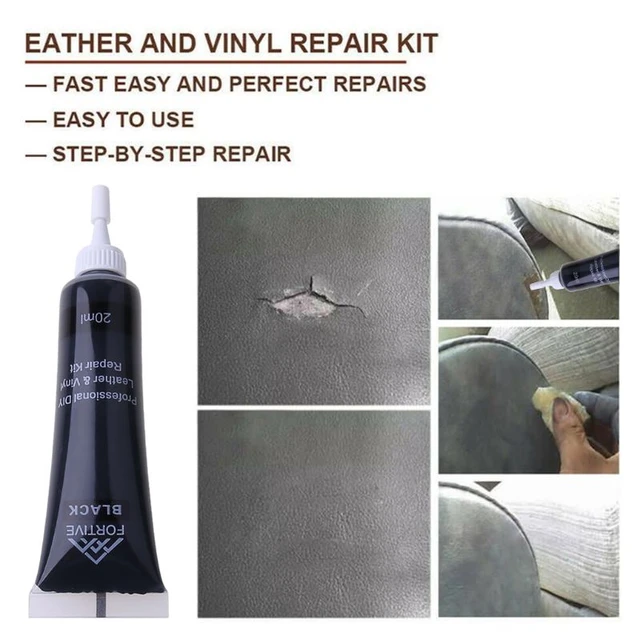
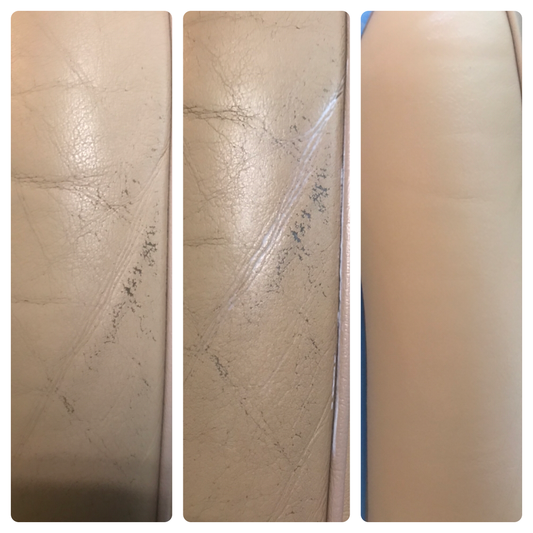
The Quick 20 leather and vinyl repair kit will match most popular colors and grains. This is the very best kit for people who want to repair leather items in their home, car, boat, office, luggage and apparel without using a heating process. This leather repair kit is simple to use with complete, easy to follow instruc
The Quick 20 leather and vinyl repair kit will match most popular colors and grains. This is the very best kit for people who want to repair leather items in their home, car, boat, office, luggage and apparel without using a heating process. This leather repair kit is simple to use with complete, easy to follow instructions included.
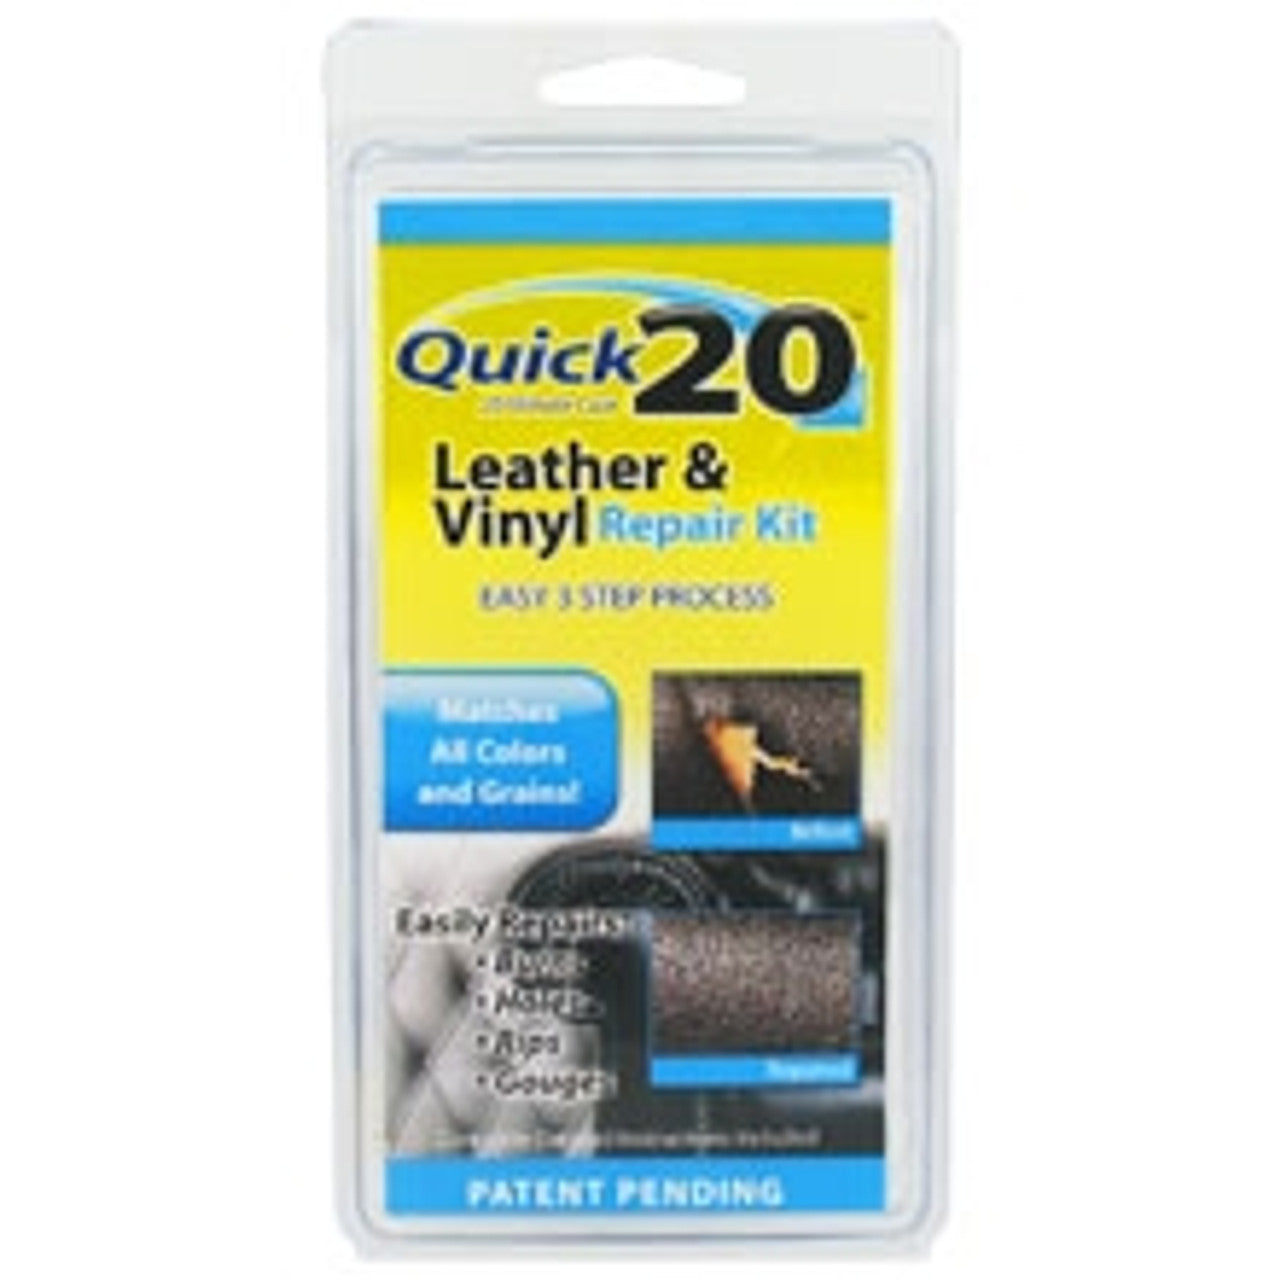
Quick 20 Leather & Vinyl Repair Kit
No Heat RequiredCure Time Under 30 Minutes
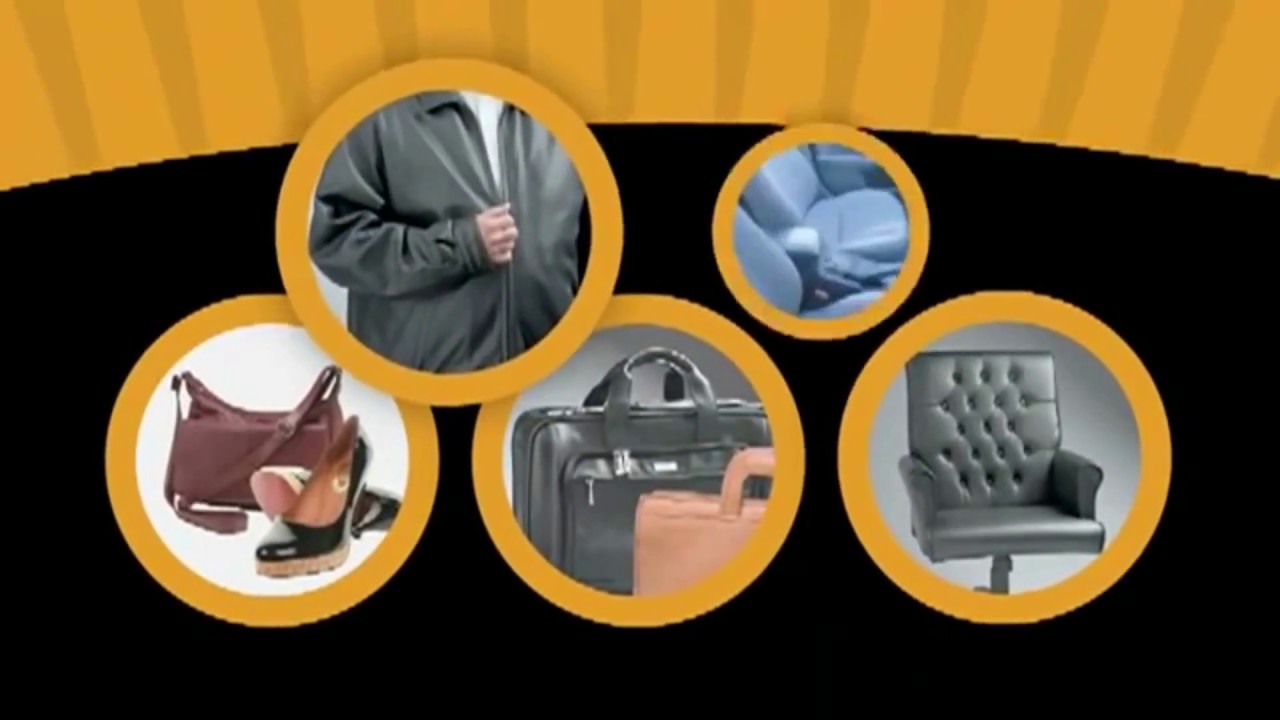
This leather and vinyl kit will match most popular colors and grains. This is the very best kit for people who want to repair items in their home, car, boat, office, luggage and apparel without using a heating process. This kit is simple to use with complete, easy to follow instructions included.
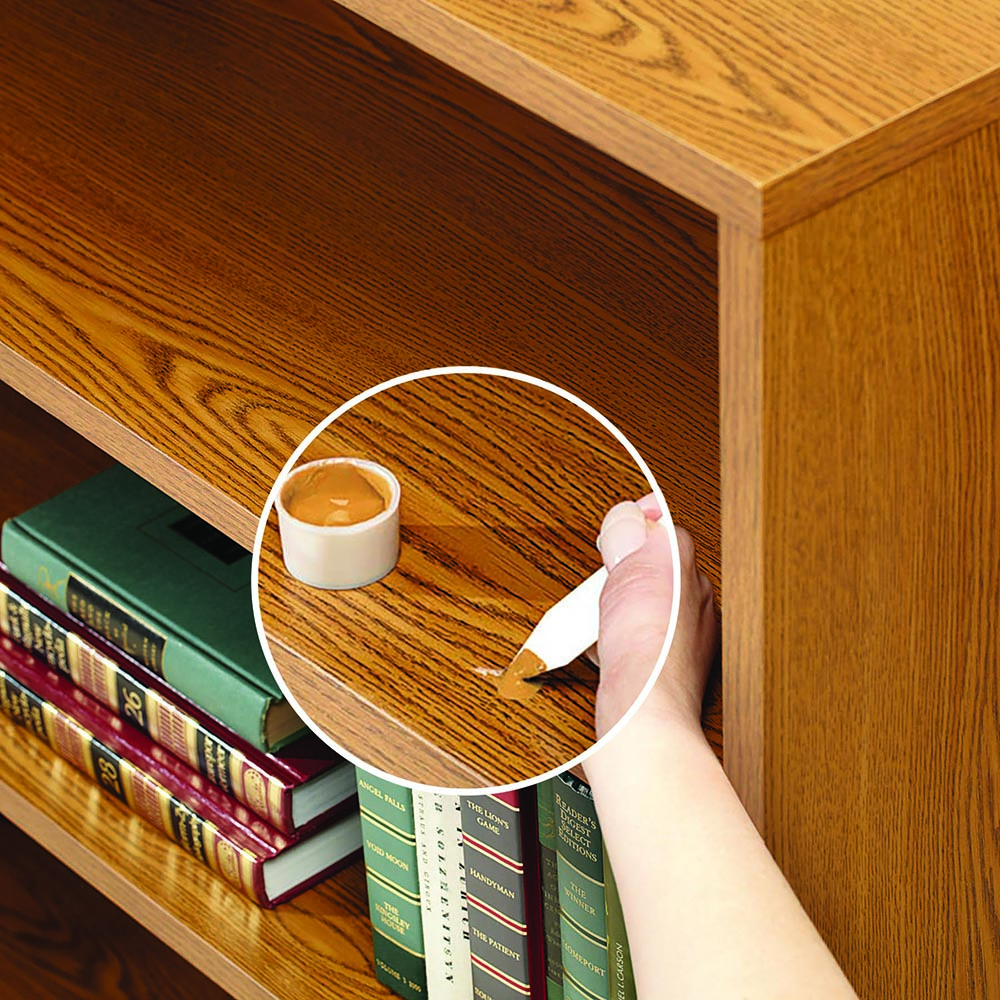
An Easy Process for a near-perfect repair job:1. Mix equal parts of color and activator.2. Fill in damaged area.3. Cover with texture paper. Remove paper after 20 minutes.
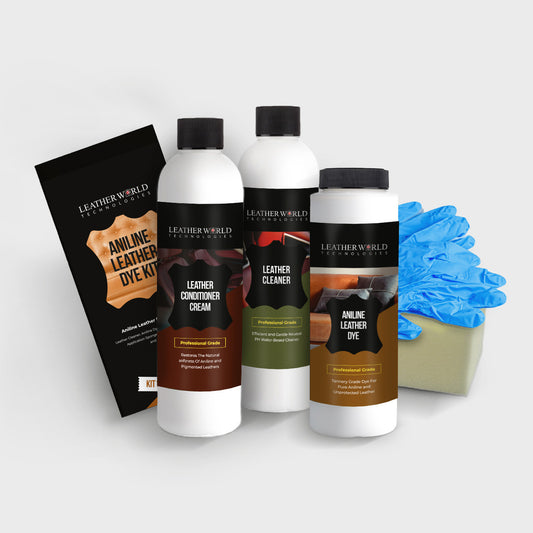
Kit Contains:
7 Color compounds
Activator
Backing Fabric
Practice Vinyl
Graining Paper
Spatula
Mixing container
Instructions
STEP 1 - Prepare the Damaged Area:Clean the damaged area with a conventional, non-soapy cleaner (rubbing alcohol works well). Trim off loose threads or damaged pieces of the leather or vinyl. If there is a depression under the damaged area, fill it in with cotton. The damaged area should be level to the undamaged area.
BACKING MATERIAL (for damages larger than one inch):Support the damaged area with backing material included in this kit. Cut the piece slightly larger than the damaged area and insert it into and underneath the damaged area. Fill the damaged area with the clear repair compound to hold the material in place. This will support the repair job and provide a base for the repair compound. Allow to dry for 20 minutes. (See Step 3 on How To Mix Clear.)
STEP 2 - Select and Prepare Grain Texutre Release Paper; Set Aside:The grain texture release paper included in this kit allows you to transfer a pattern or grain texture to your repair. Choose the pattern that most closely matches the item you are repairing. Using your finger or paper towel, apply a very thin coat of the Gel Release Agent onto the unprinted side of the grain paper and set aside. The Gel Release Agent will prevent the paper from sticking to the finished repair. The grain paper is reusable.
STEP 3 - How to Mix Clear Repair Compound with Activator:Only mix up enough for the repair. Using the spatula and the lid from the mixing bottle, take 1 part clear to 1 part Activator and thoroughly mix for at least 30 seconds. Wipe off the spatula with a paper towel. Use the spatula and apply the activated clear mixture into the damaged area.
STEP 4 - CREATING YOUR COLORED REPAIR COMPOUND:Using the spatula, mix and match your color repair compound to create your desired color. See Color Mixing Guide on the reverse side on these instructions. Check your color on the practice vinyl; hold up to the undamaged area to check color match.
STEP 5 - How to Mix Color with Activator:Only mix up enough for the repair. Using the spatula and empty mixing bottle, take 1 part color to 1 part Activator and thoroughly mix for at least 30 seconds. Wipe off the spatula with a paper towel. Use the spatula and apply the color mixture into the damaged area.
STEP 6 - How to Apply Activated Color Repair Into DamageNow, the damaged area should be level to the undamaged area. Use the spatula and apply the activated repair compound in a thin layer, into and across the damaged area. Overlap the repair compound around the edges. For a quality repair job, smooth and even application is very important. Remove any excess repair compound from around the damaged area with a paper towel. Immediately, place the selected grain texture release paper (gel release agent side down) onto the repair. Allow to dry for 20 minutes.
STEP 7 - Removing the Grain PaperAfter drying, slowly peel off the grain paper for a finished repair. Once the grain paper is removed, if there are any under-filled areas, you may apply additional repair compound to those areas by repeating these instructions. Remove any remaining gel release agent with warm water or a mild cleanser. Note: If you notice that the repair compound is still wet, place the grain paper back down and allow more time to dry. Repeat as needed for best results.
Deluxe Leather Repair Kit
Quick 20 Leather & Vinyl Repair Kit – Leather World Technologies

Quick 20 Leather & Vinyl Repair Kit – Leather World Technologies

Master Manufacturing ReStor-it Quick 20 Leather & VinyI Repair Kit, 20 Minute Repar, 7 Colors, Repairs Burns, Holes, Rips Furniture, Couchs, Seats : Tools & Home Improvement

Quick 20 Leather Damage Quick-Fix Repair By Liquid Leather Any Cracks Cuts Burns And Tears As seen on tv
Manufacturer Video of the Master Caster Quick 20 ReStor-It No-Heat Leather-Vinyl Repair Kit
ReStor-It® Quick 20® Repair Kits, 29720
Leather World Technologies

VLQ000 Quick Smart Repairs Vinyl & Leather Repair Kit