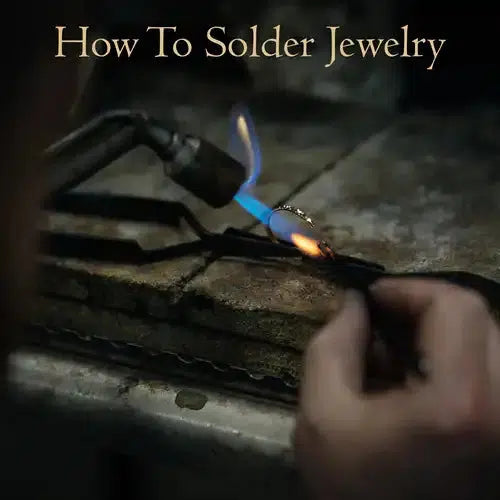
Soldering in Jewelry Making: 10 Simple Steps
When it comes to jewelry making, mastering the art of soldering is a game-changer - especially if you make handcrafted jewelry and want to scale a sustainable and long-term jewelry business. But how to solder? In the following blog, we’re going to show you 10 easy steps to take you from a soldering beginner to a total expert, whether you’re a hobbyist or an aspiring professional. Let’s dive in! Gather Your Materials and Tools Essentials: To begin soldering jewelry, you’re going to need a soldering iron or torch, solder (available in various melting temperatures), flux to prevent oxidation, a soldering block or surface, and tweezers or soldering picks. You should also make sure you have safety gear like goggles and gloves to protect yourself during the process. Preparation: Before you begin, you’ll also want to organize your workspace so
Bluestreak Crystals is the world's leading supplier of high-quality lead-free beads and crystals with fast worldwide delivery. Choose from the leading brands.
When it comes to jewelry making, mastering the art of soldering is a game-changer - especially if you make handcrafted jewelry and want to scale a sustainable and long-term jewelry business. But how to solder? In the following blog, we’re going to show you 10 easy steps to take you from a soldering beginner to a total expert, whether you’re a hobbyist or an aspiring professional. Let’s dive in!
Gather Your Materials and Tools
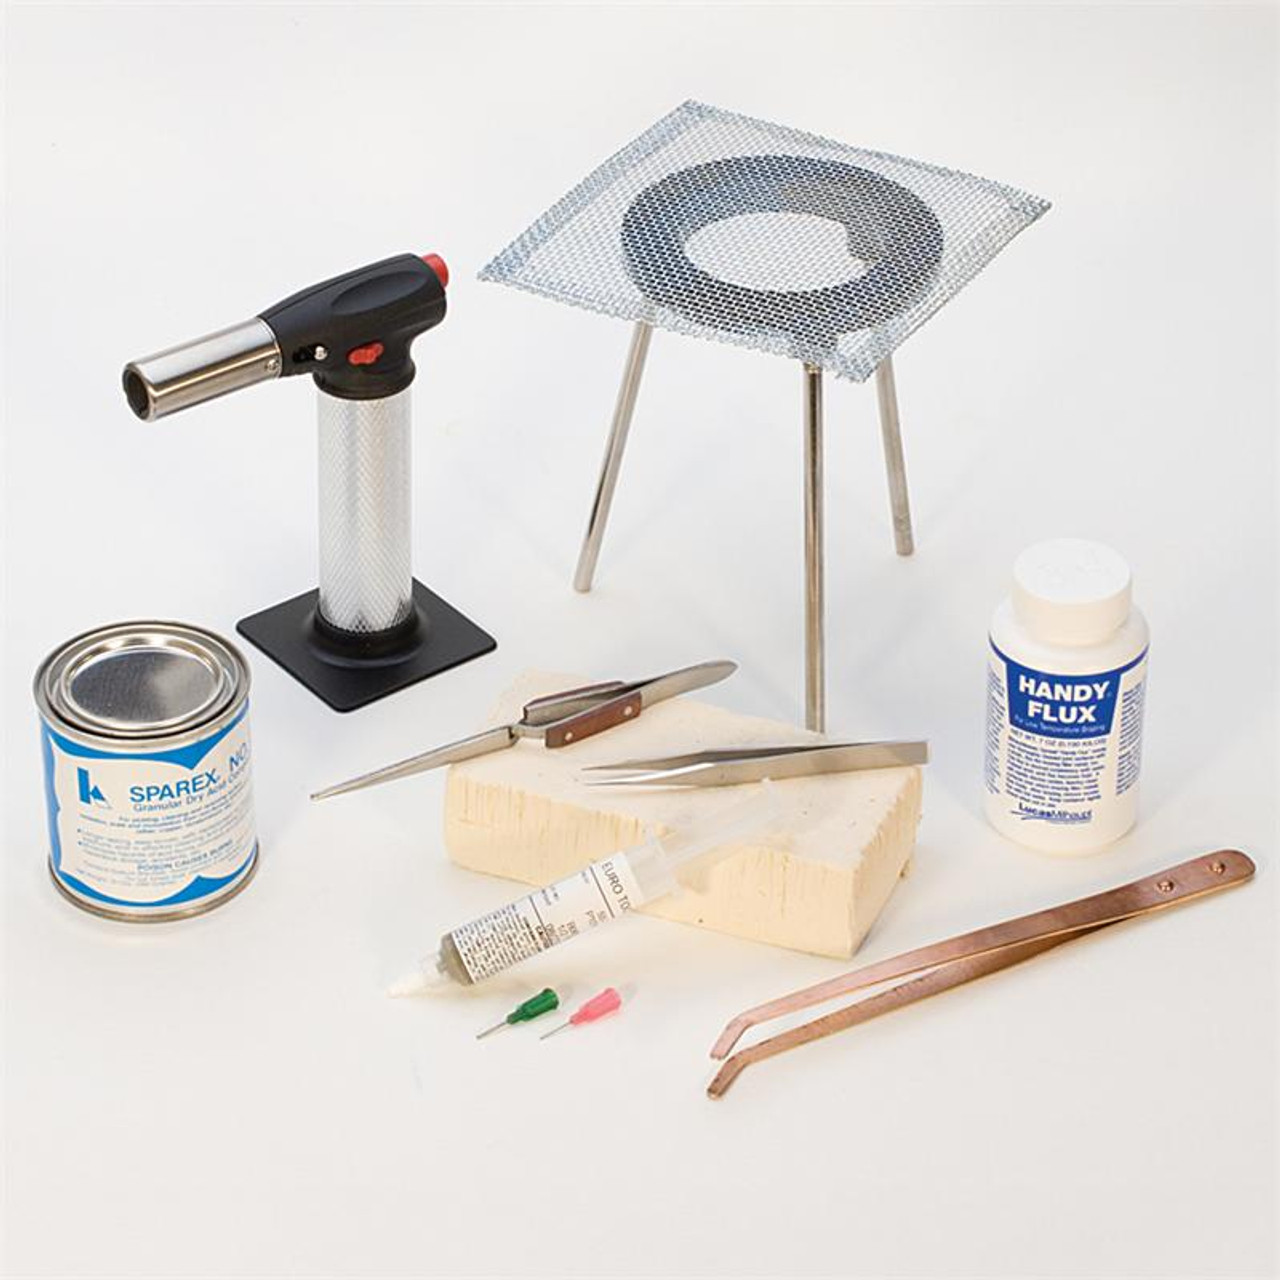
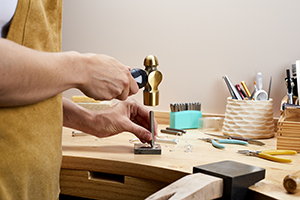
Essentials: To begin soldering jewelry, you’re going to need a soldering iron or torch, solder (available in various melting temperatures), flux to prevent oxidation, a soldering block or surface, and tweezers or soldering picks. You should also make sure you have safety gear like goggles and gloves to protect yourself during the process. Preparation: Before you begin, you’ll also want to organize your workspace so that it’s well-ventilated and free from flammable materials. A clean, organized space is much easier to work in, and also ensures safety.
Understand Your Materials
Metals: One of the first things you need to learn about soldering is that different metals require different types of solder and temperatures. For instance, different types of jewelry findings - such as sterling silver and gold - have specific solders, so make a priority of understanding the melting points and properties of the metals you are working with.Solder Types: There are typically three different types of solder – hard, medium, and easy. Each type flows at a different temperature, allowing for multiple soldering steps without melting the previous joints. Write down notes and stick them on the wall to refer to, if you have trouble remembering things.
Cutting and Positioning the Solder
Cutting Solder: To begin, cut small pieces of solder, often referred to as “paillons.” The size depends on the job, but they’re usually quite small. Remember, a little goes a long way in soldering, so don’t cut too large.Positioning: Place the paillons where the two pieces of metal are to be joined, using tweezers or a pick, remembering that precision in placement is key to ensuring a clean and strong join.
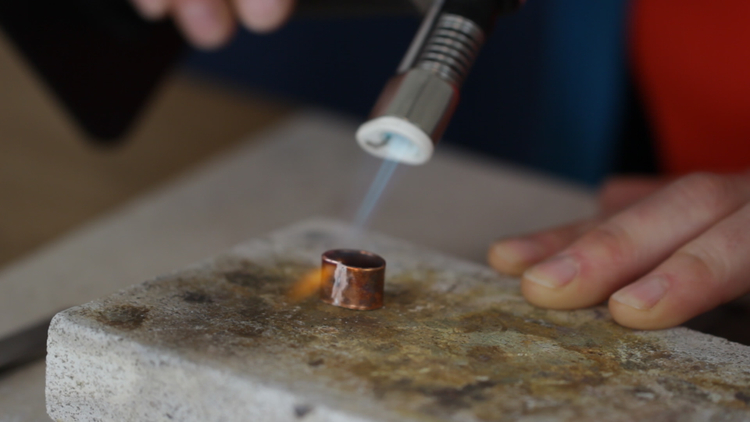
Applying Flux and Heat
Flux Application: Now, apply flux to both the metal surfaces and the solder. Flux is essential as it prevents oxidation of the metal at high temperatures, which can hinder the solder from flowing correctly.Heating: Evenly heat the metal pieces, not just the solder. The heat should be applied broadly to ensure the solder flows smoothly over the join. Watch for the flux to change – it should bubble and then clear, indicating the right moment to focus the heat on the solder.
Achieving the Flow
Observation: Watch closely for the solder to change its form; you should expect it to first become shiny and then flow. The key to a good solder joint is not overheating, as this can lead to melting the piece or burning the solder.Patience and Practice: Like with anything, soldering requires patience and practice, and a bit of old fashioned elbow grease. If the solder doesn’t flow, gently remove the heat, let the piece cool, clean it, and try again. Remember, it often takes multiple attempts to perfect the technique, so don’t feel discouraged if you don’t get it right the first time.
Cleaning After Soldering
Post-Soldering Process: After successful soldering, the jewelry piece will have residues of flux and oxidation. It’s really important that you clean this off to inspect the join, then prepare for any additional steps.Pickling: Now, onto the pickling! (Yes, you read that right!). Submerge the piece in a pickling solution, a mild acid that cleans off oxidation and flux residue. Use copper tongs to handle the piece in the pickle, as other metals can contaminate the solution.
Inspecting and Finishing the Joint
Examination: After pickling, inspect the solder joint closely. Look for gaps or incomplete joins, which indicate that the piece may need to be re-soldered.Finishing Touches: Use files, sandpaper, or polishing tools to clean up and smooth out the soldered area. This step ensures that the join is not only strong but also visually appealing and seamless with the rest of the piece.
Re-soldering if Necessary
Identifying Issues: If you find that the solder hasn’t flowed correctly or the join isn’t secure, it may be necessary to re-solder. This involves carefully removing the old solder, reapplying flux, and repeating the soldering process. Again, practice, practice, practice!Care and Precision: Approach re-soldering with care, as repeated heating can alter the properties of the metal or damage delicate components.
Practice Safety and Precision
Safety First: Due to the heat risk, you always need to prioritize safety when soldering. Work in a well-ventilated area, wear protective eyewear, and handle all tools and materials with care to prevent burns or other injuries. You should also regularly inspect your tools to ensure they’re functional and not damaged.
Continuing Education and Experimentation
Learning More: There’s always more to learn in jewelry making. Attend workshops, watch tutorials, and read up on advanced soldering techniques to continuously improve your skills.Creative Experimentation: Don’t be afraid to experiment with different techniques, metals, and designs. Soldering opens up a world of possibilities in jewelry making, and experimenting can lead to unique and beautiful creations.
How to Solder for Beginners: Tips and Tricks
The guide above should be a great help if you’re a soldering beginner - just remember that practice truly does make perfect. But if you are struggling, here are a few of our top tips to ensure successful soldering:
Start with the Right Tools: Invest in a good-quality soldering iron, flux, and appropriate solder for jewelry. Having the right tools makes the process smoother and ensures better results, and higher quality tools are less likely to break. You’ll also want to ensure you have the best thread for jewelry making.
Understand Solder Types: We did already mention this, but it bears repeating: familiarize yourself with different types of solder (like hard, medium, and easy) and their melting points. This knowledge is crucial for controlling the heat and achieving desired outcomes.
Practice Safety First: Always work in a well-ventilated area, wear safety glasses and heat-resistant gloves. Safety should never be compromised in the pursuit of crafting, no matter how pretty the pieces might be!
Master Heat Control: Learn to regulate the heat from your soldering iron. Too much heat can damage delicate pieces, while too little won’t properly fuse the metals.
Clean and Prep Your Pieces: Before soldering, ensure your metal surfaces are clean and properly aligned. Dirt or misalignment can hinder the soldering process and affect the quality of your final piece.
10 Steps To Start Making Jewellery

BOOK RECOMMENDATIONS – Metalsmith Society
10 Easy Steps to Start Jewelry Making Business Phuket

How to Solder Jump Rings (with Pictures) - wikiHow
Soldering in Jewelry Making: 10 Simple Steps

How to pick the best solder and flux for jewelry soldering?

How to Solder
Why I love soldering — Jewellers Academy

How to Solder a Post Onto an Earring – Jewelry Monk

Jewellery Manufacturing Process
[Love, Laura Beth] on . *FREE* shipping on qualifying offers. Soldering Iron Jewelry: Your Complete Guide To Making Soft-Soldered

Soldering Iron Jewelry: Your Complete Guide To Making Soft-Soldered Jewelry Using A Soldering Iron, 20 Step-By-Step Projects

Soldering Jewellery: 13 Top Tips for Successful Soldering