U-Coat Epoxy Countertop Kit - U-Coat
$30 off our Large kits this week only 💥 Make sure to watch our “how to” video below 🔥 Introducing the U-Coat - U-Coat
🖤 NEW YEAR SALE IS NOW LIVE! 🖤
PLEASE NOTE THAT SHIPMENTS WILL NOT BE MADE UNTIL Jan 6-8th WE HAVE DISCOUNTED THE PRICE UNTIL THEN!
We sell out every year with these sales so don’t miss out!
Make sure to watch our “how to” video below 🔥
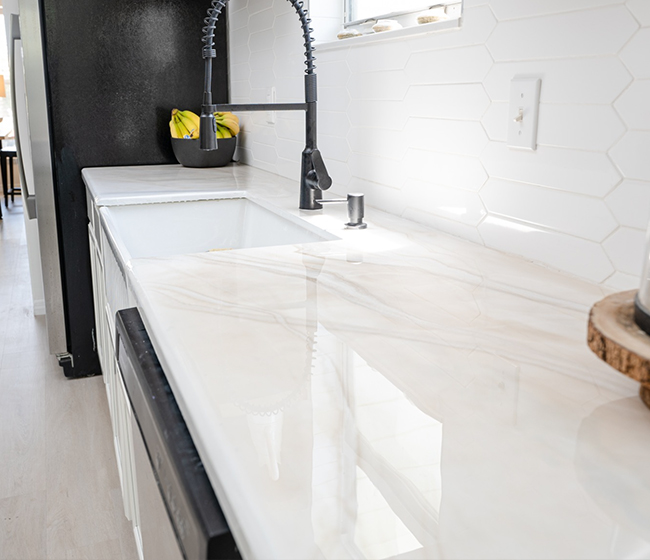
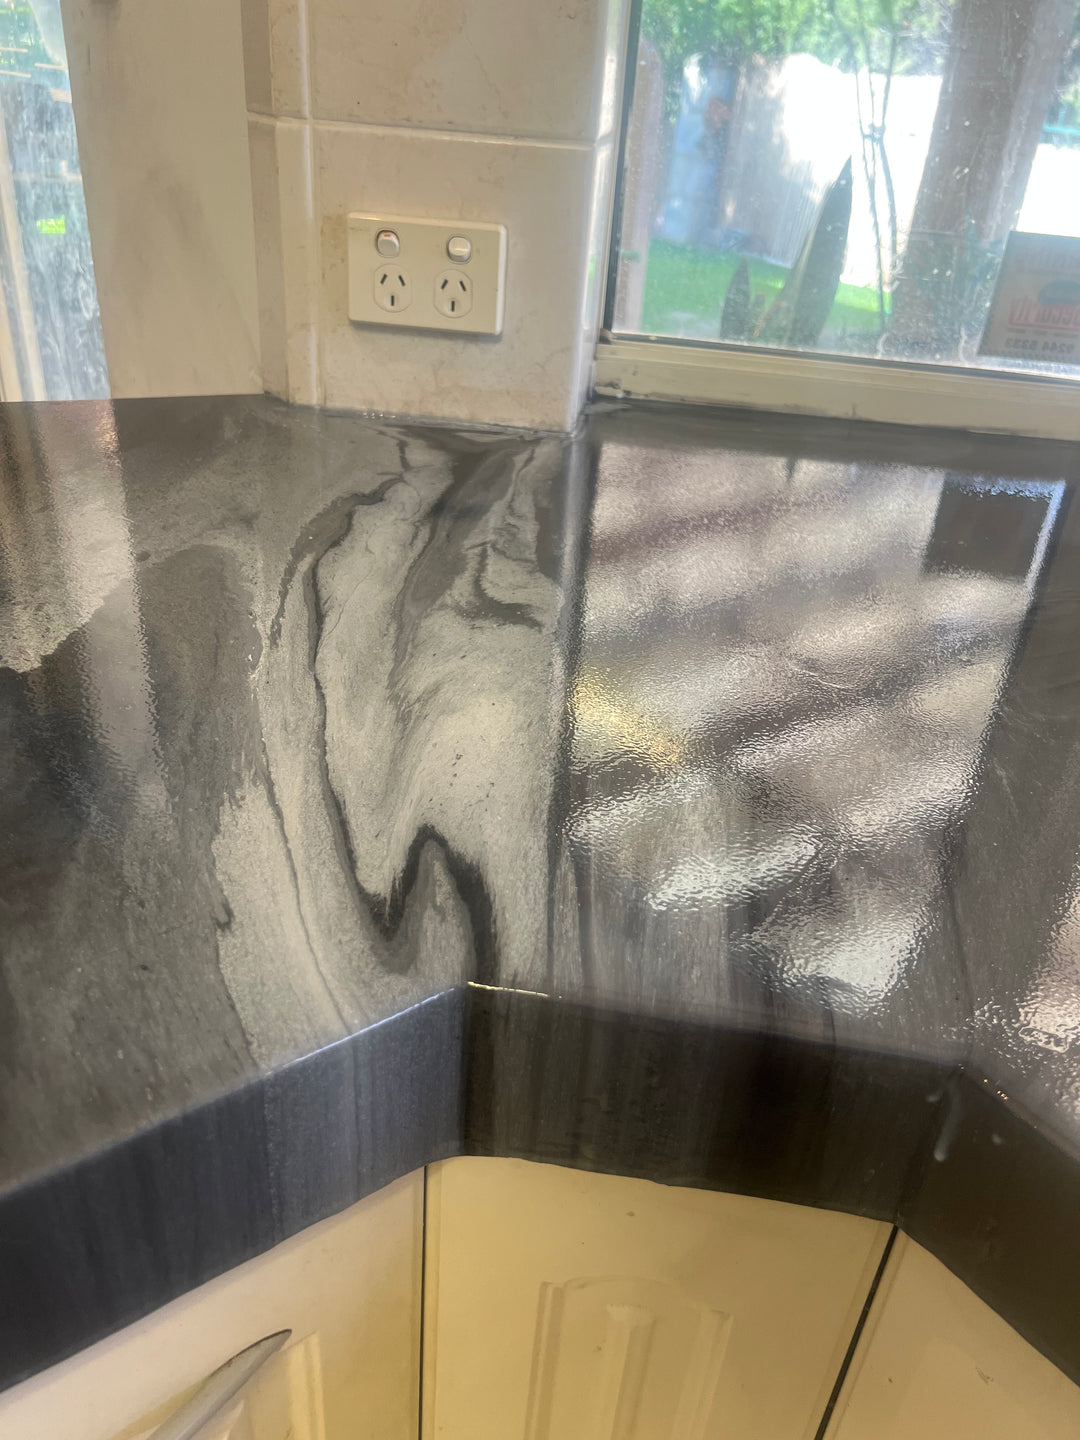
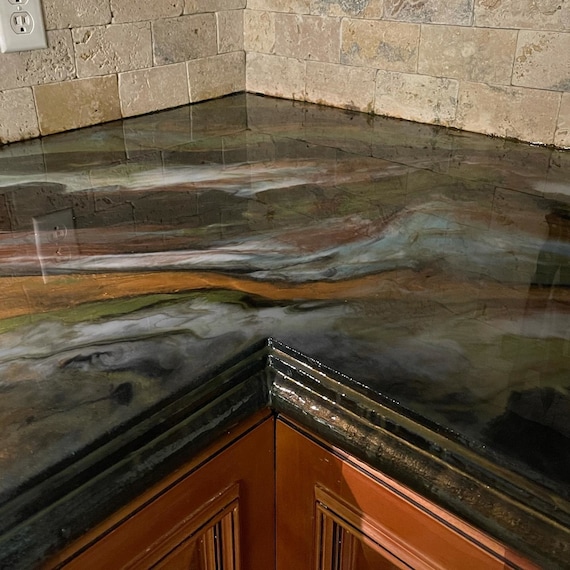
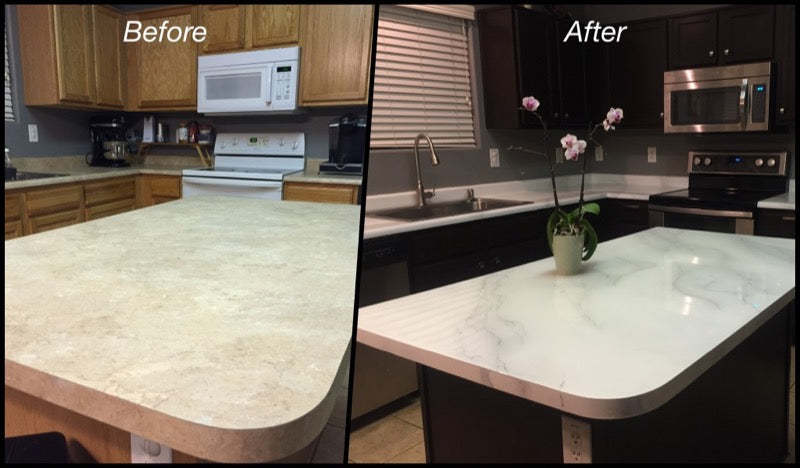
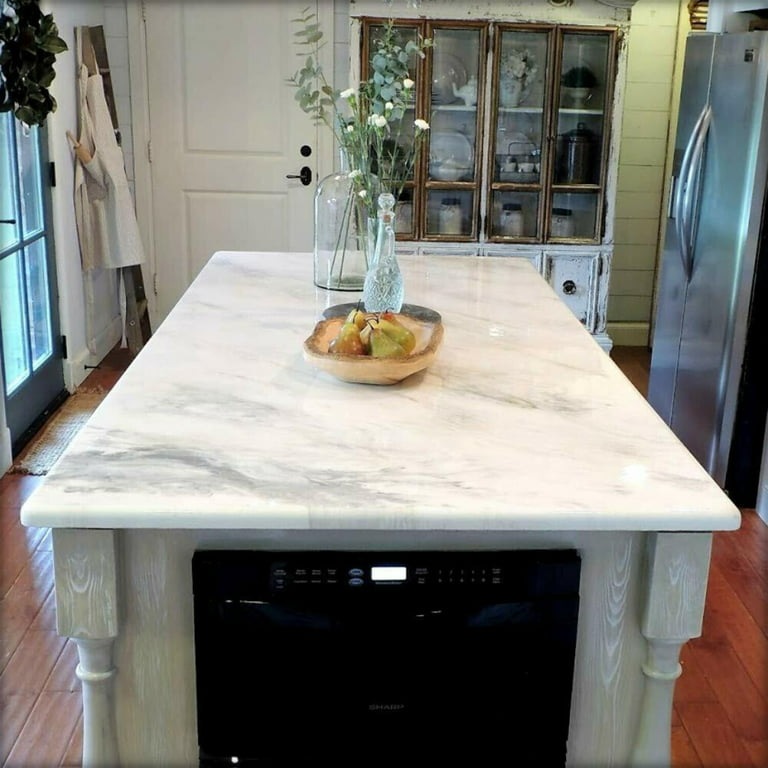
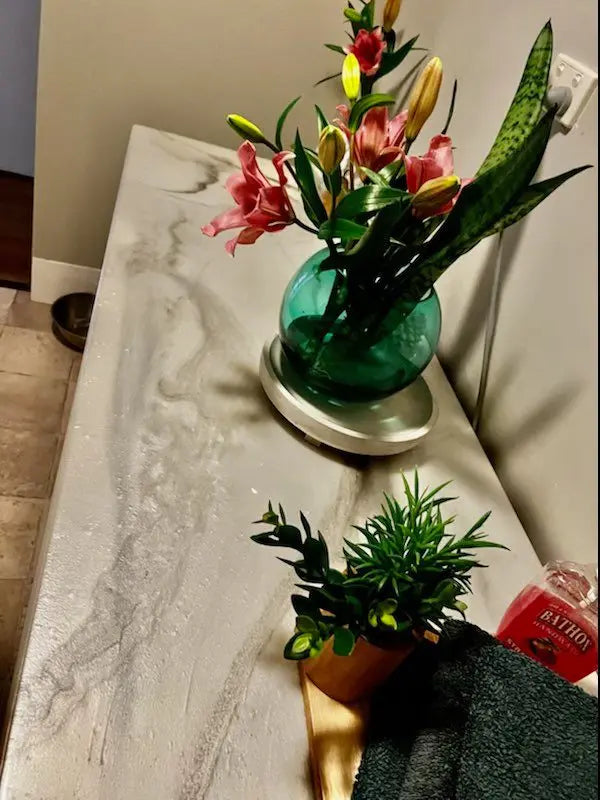
Introducing the U-Coat epoxy countertop kit - the ultimate solution for transforming your old, worn-out countertops into stunning, modern surfaces! Say goodbye to expensive countertop replacements and hello to a cost-effective, DIY solution that will leave your kitchen looking brand new.
Our U-Coat epoxy countertop kit is designed to be easy to use, even for those with no prior DIY experience. With our step-by-step instructions and high-quality materials, you can resurface your countertops in just a few simple steps. Plus, our kit comes in a variety of colors to match any kitchen decor.
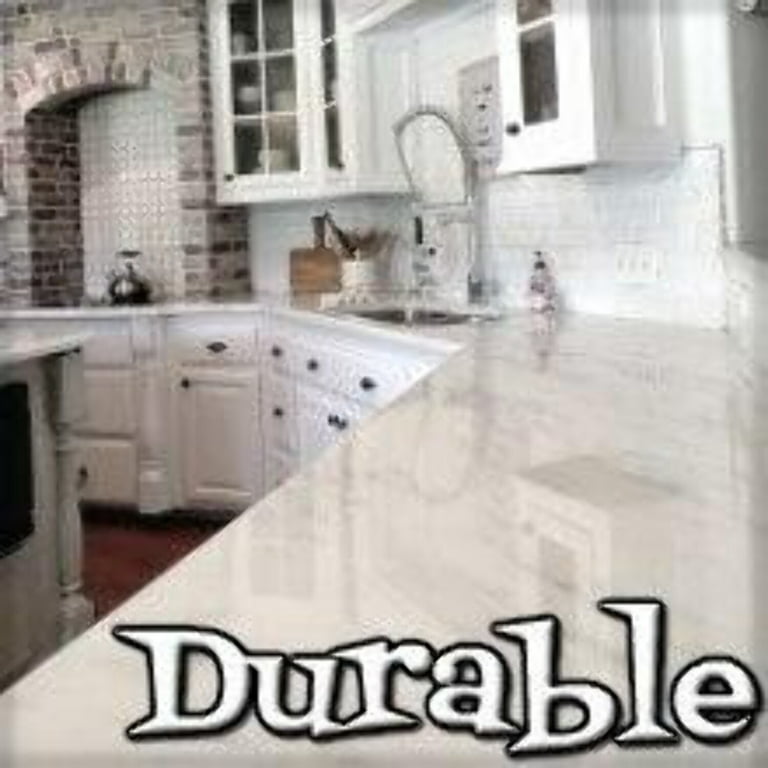
Not only is our U-Coat epoxy countertop kit easy to use, but it's also incredibly durable. Our epoxy formula is resistant to scratches, (when our sealer is used) stains, and heat, making it the perfect choice for busy kitchens. Plus, it's easy to clean and maintain, so you can enjoy your beautiful new countertops for years to come.
Upgrade your kitchen today with the U-Coat epoxy countertop kit. It's the perfect solution for anyone looking to give their kitchen a fresh, modern look without breaking the bank. Order now and start your DIY countertop transformation today!
Lifetime peel guarantee!
If you follow our simple steps we guarantee that our kits will never peel from the surface!
HOW IT WORKS
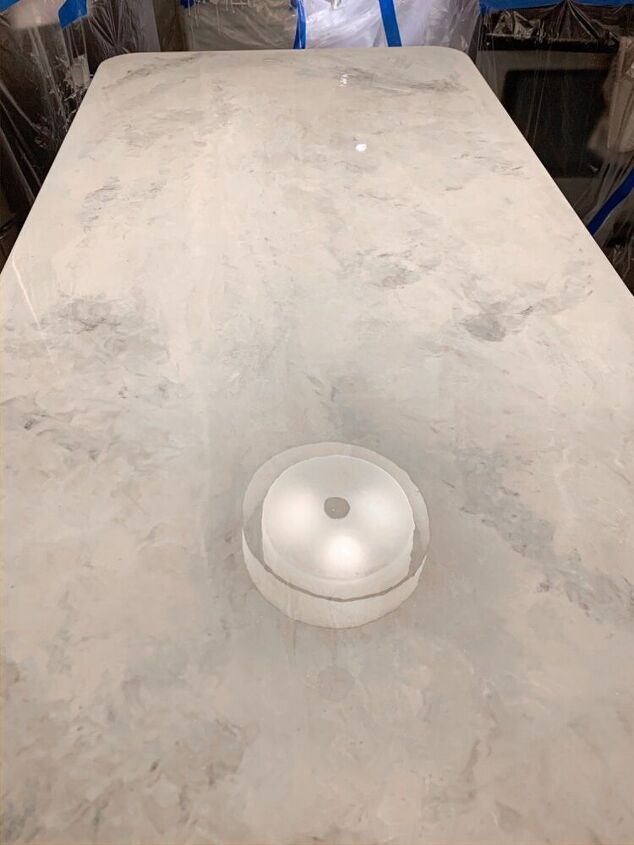
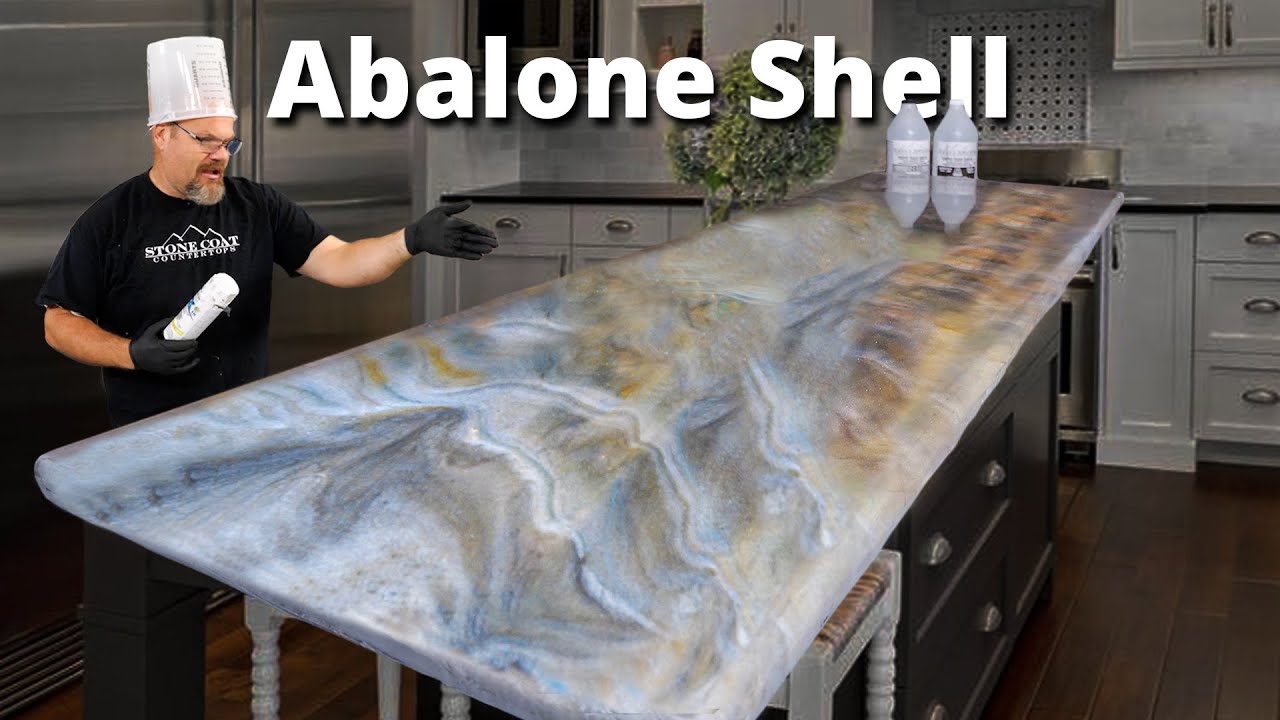
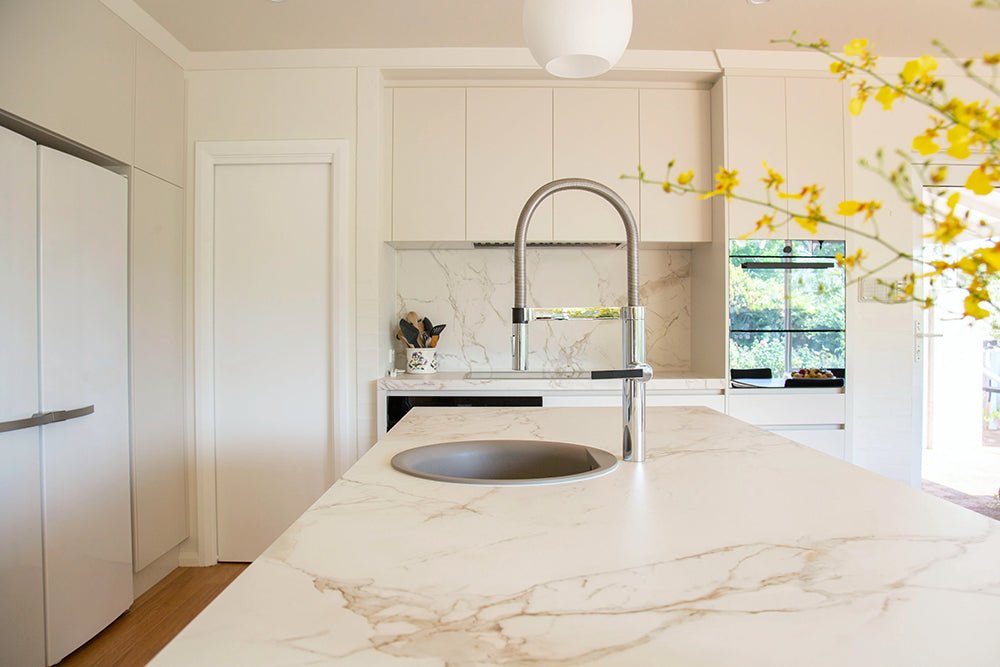
you want to select your base colour and then you can add highlights with spray cans. You can also not use highlights and have it one colour, it will have a metallic effect
Step one- Clean and sand benchtop/table
Step two- Protect surrounding areas with plastic and masking tape
Step three- Roll out a primer
Step four- Mix and pour out the epoxy, spray the surface with isopropyl alcohol (included in your kit)
Step 5- pull down your edges and clean up!
Its very easy to do and get a great finish with no experience.
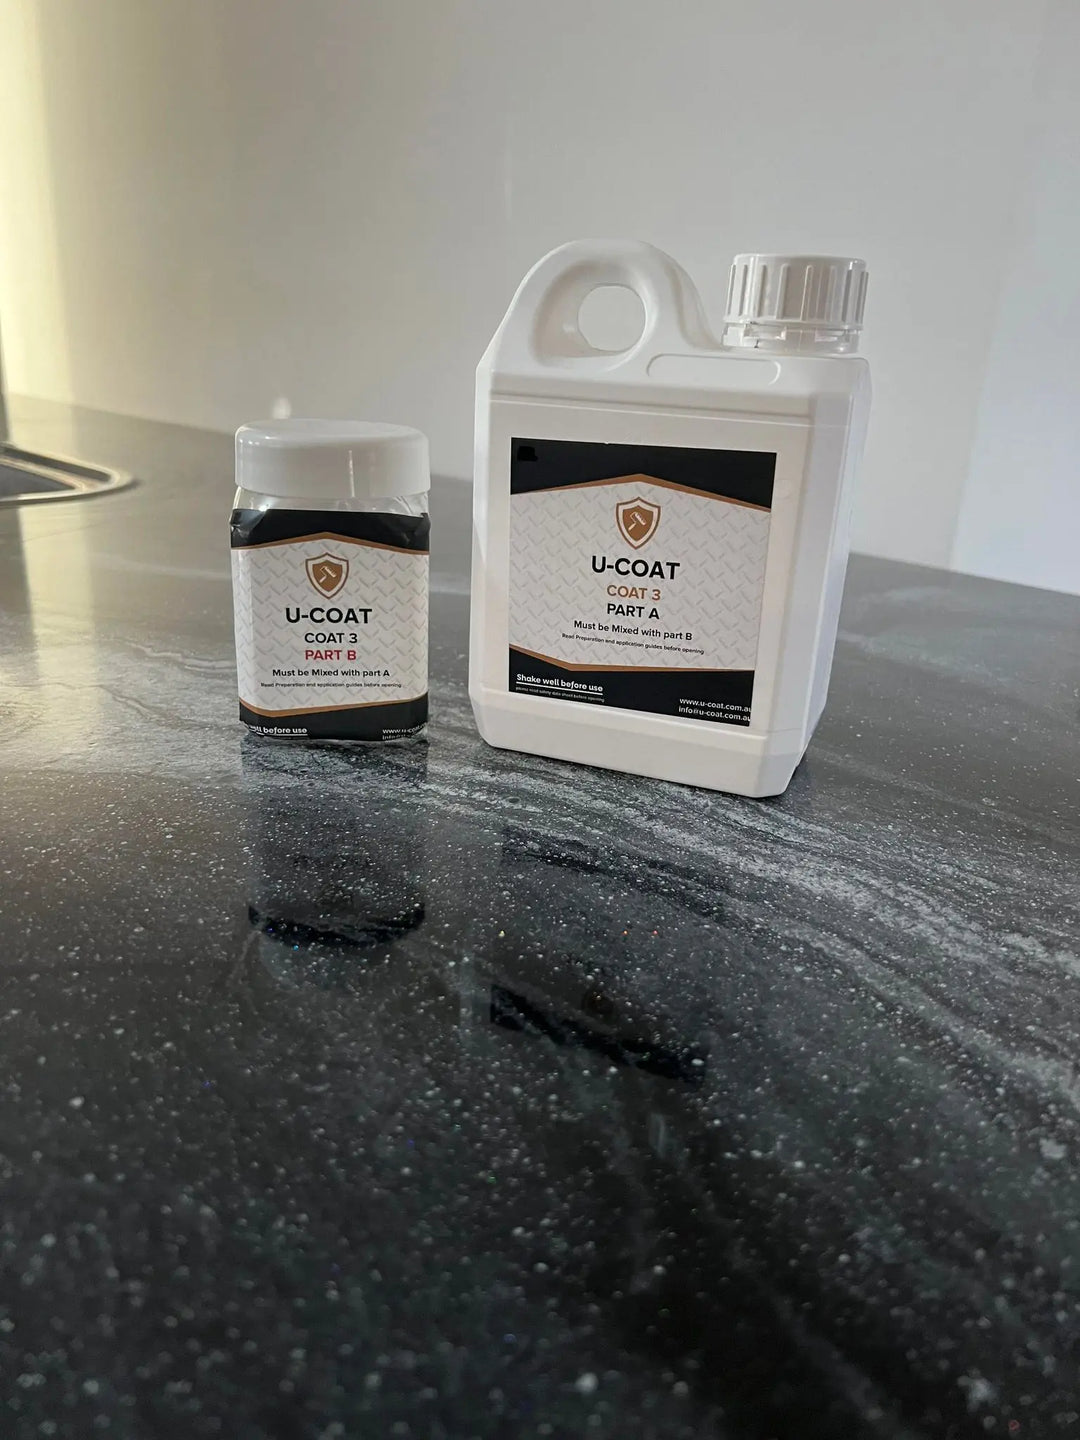
WHATS INCLUDED
- Primer
- Two part epoxy resin
- Metallic powder (to mix into resin)
- Isopropyl alcohol
- Gloves
_ bucket
- mixing paddle
- Full written instructions (also available on You tube)
- My personal support!
MAKE SURE TO MEASURE YOUR AREA AND ORDER THE APPROPRIATE SIZE KIT.
WHAT YOU NEED
- Masking tape and plastic
- 2 part filler (if you have any joins to fill)
- Spray paint cans ( only if you want highlight colours) Must not be water based or say primer. We recommend using Rustoleoum.
PRECAUTIONS!
Once epoxy dries it is very difficult to clean so make sure to protect all surrounding areas with plastic and clean any spills or drips with isopropyl alcohol (provided) before it dries. we cant take any responsibility for any damage caused by your application. We are here to help and if you have any questions you can contact me VIA email or telephone and ill respond ASAP.
*White epoxy can amber in time from UV light
*Epoxy is for indoor use only and not suitable for outdoor areas subjected to UV rays
FAQ's
Can anyone do this?
Yes! if you follow our video and written instructions its very easy! im always here to help if you get stuck!
How durable is it?
Our kits are very durable and made from the best materials! they can handle big sharp hits and you can sit hot pans directly on the surface without leaving burn marks.
Will it scratch?
Yes, epoxy can scratch! we recommend using our durable top coat (sold separately) this will give you a much better scratch resistance.
Maintenance?
Just clean with your standard kitchen products, our kits are incredibly easy to wipe down! We recommend not using metal scourers and always use a chopping board. If you have scratches in years to come you can simply sand down your benchtop and apply our topcoat to make it look brand new again.
What if i run short of material?
Its always best to order plenty of material to make sure you can complete your project successfully, if you find you are running short when you are pouring out the epoy then you will have to use a foam roller and push the material around. This will give you a different finish but it will get you out of trouble and still look amazing!
Can this be applied outside?
Not recommended in full sunlight. Epoxy can be effected by UV rays.

U-Coat Epoxy Countertop Kit - U-Coat
Epoxy Quick Coat Artists love using Quick Coat Epoxy to create geodes for their art pieces. This kit includes one gallon of our fast-setting epoxy. Thanks to it’s fast setting Woodworkers love our quick dry resin for 3D objects, such as coating driftwood. This kit does NOT include our thickening powder.

Epoxy Quick Coat Size 1 Quart Kit | Stone Coat Countertops
Stone Coat Countertops Polishing & Cleaning Epoxy Kit

U-Coat Epoxy Countertop Kit - U-Coat
Epoxy countertops: A beginner's guide
Epoxy Gallon Kits Size 2 Gallons | Stone Coat Countertops
U-Coat Epoxy Countertop Kit - U-Coat
Why you Should be Using Epoxy on Marble Surfaces

Spray on Granite Countertops

Quick Coat 1 Quart Epoxy Kit (Stone Coat Countertops) - Fast-Curing Epoxy Resin Kit for River Tables, Geodes, Wood Sealing, Tumblers, 3D Objects, and Other DIY Projects!: : Industrial & Scientific

Giani Marble Countertop Paint Kit – Giani Inc.

U-Coat Epoxy Countertop Kit - U-Coat
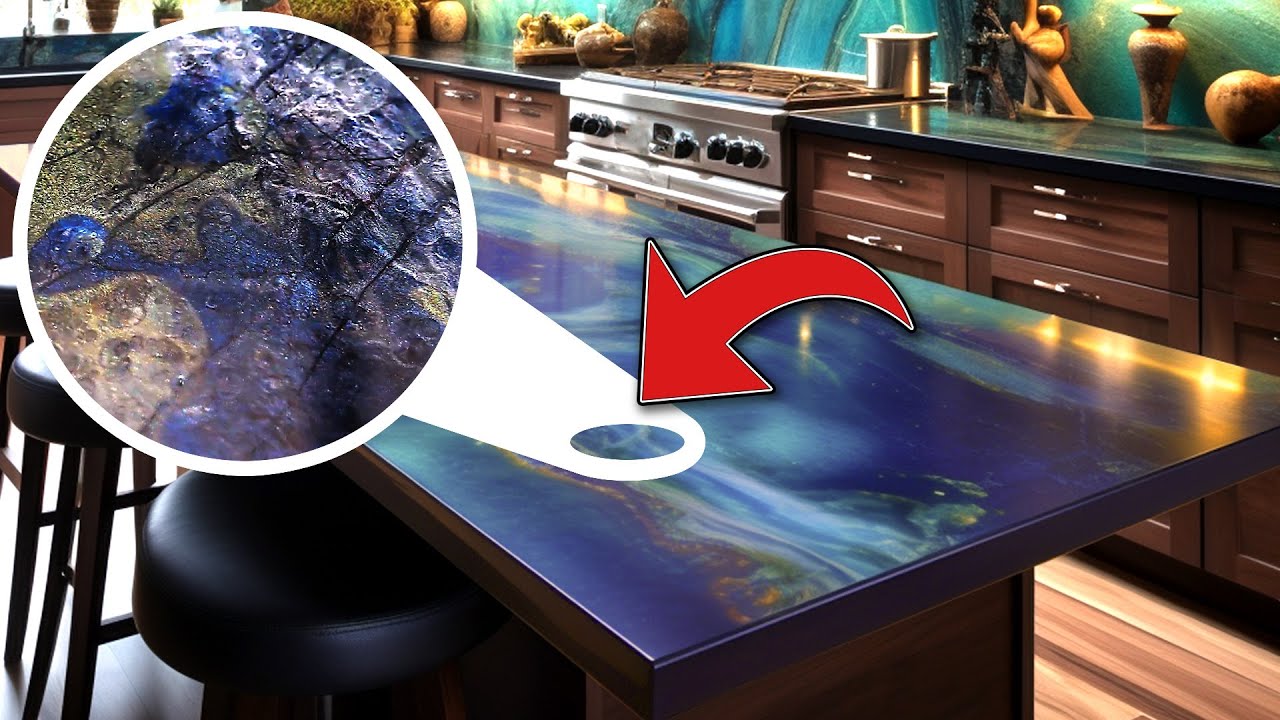
DIY Black & Blue Kitchen Countertops with Blue Ghost Epoxy!
U-Coat Epoxy Countertop Kit - U-Coat

Premium White Marble FX Poxy Countertop Kit - Counter Top Epoxy