How to Calibrate Your Cricut Cutting Machine for Print then Cut
In this Video, we'll walk you through the process of calibrating your Cricut machine for Print Then Cut, ensuring your projects come out flawlessly every time.
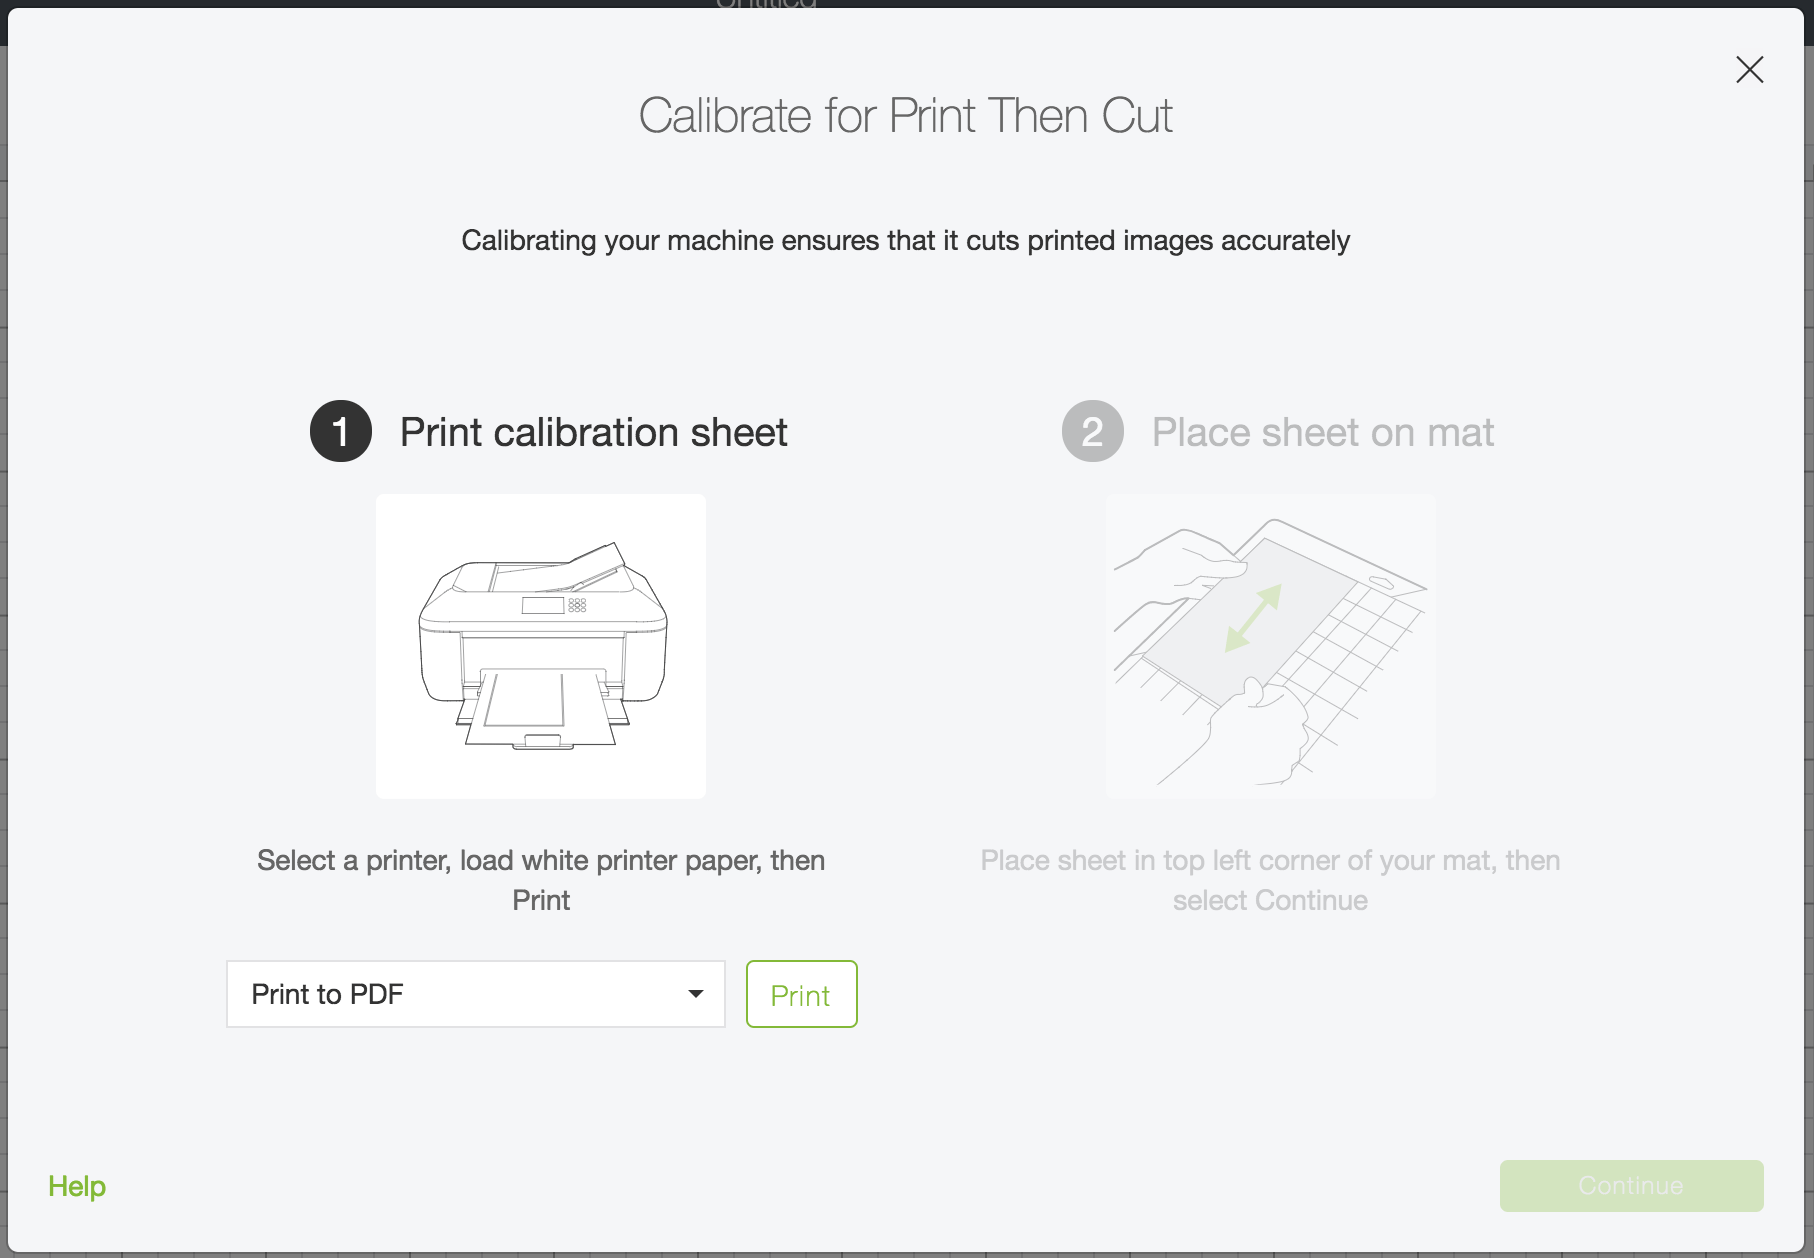
In this video, I'll guide you through the process of calibrating your Cricut cutting machine for optimal results when using printed designs. We'll kick things off in Design Space by accessing the three-line menu, then diving into calibration. Our focus today is print then cut calibration. After selecting the right printer, we'll print a calibration sheet and position it on the cutting mat. The machine will skillfully read the registration marks, and though they're more prominent during calibration than in actual projects, we'll progress to cutting a small square design. Evaluating the precision of the cut line, we'll make necessary adjustments in Design Space. The process involves fine-tuning with multiple cuts and ensuring the alignment is spot on. Once we've achieved the perfect calibration, we'll be all set to create an array of awesome stickers.

How To Calibrate Your Cricut Machine

Calibrate your Cricut machine
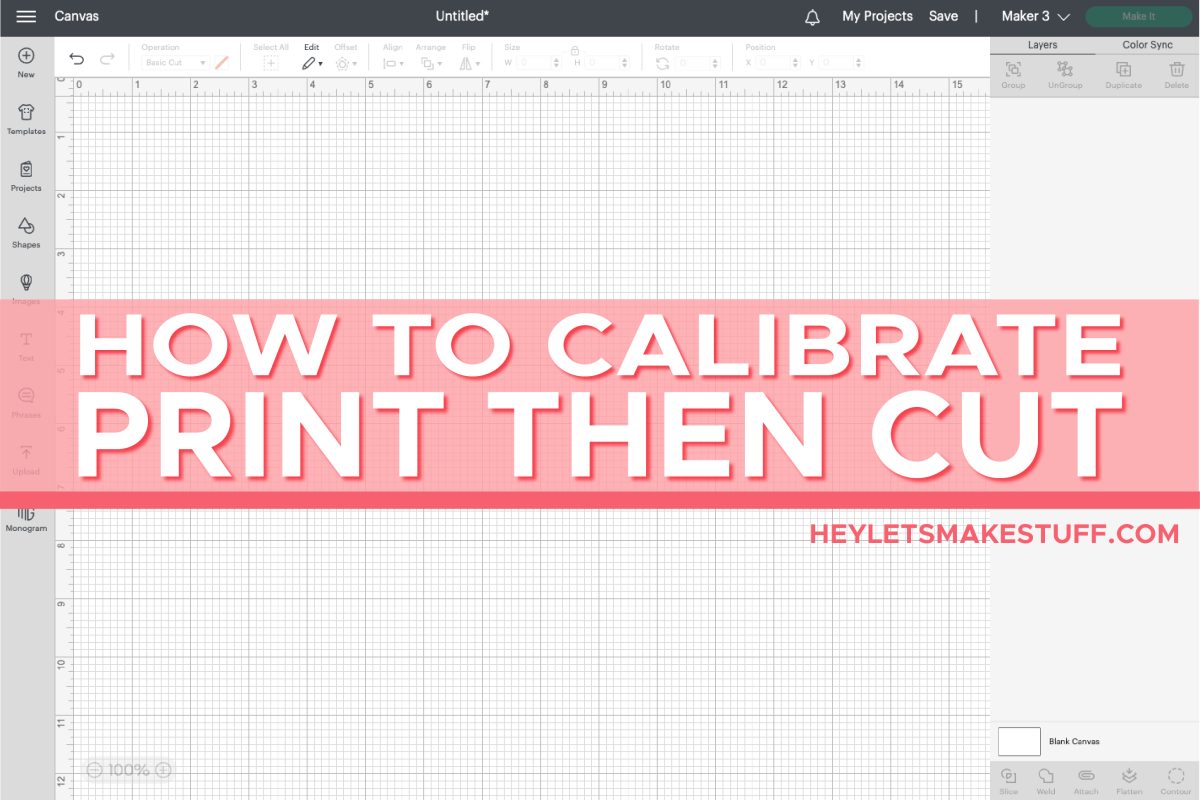
How to Use Cricut's Print then Cut Calibration - Hey, Let's Make Stuff
All About the Blades: How to Calibrate for Print Then Cut

Troubleshooting the “Print” of Cricut Print Then Cut
How to use Print then Cut Feature Using Cricut Design Space

Getting Started with Cricut Joy Xtra

How to Calibrate your Cricut for Print then Cut – Daydream Into Reality

How to calibrate your cricut machines. #cricut #printandcuttips #desi, Cricut

Where to find New Product Set up and Machine Calibration in Cricut Des

How to Calibrate Print then Cut on iOS