How to do Machine Embroidery on Cardstock - Sulky
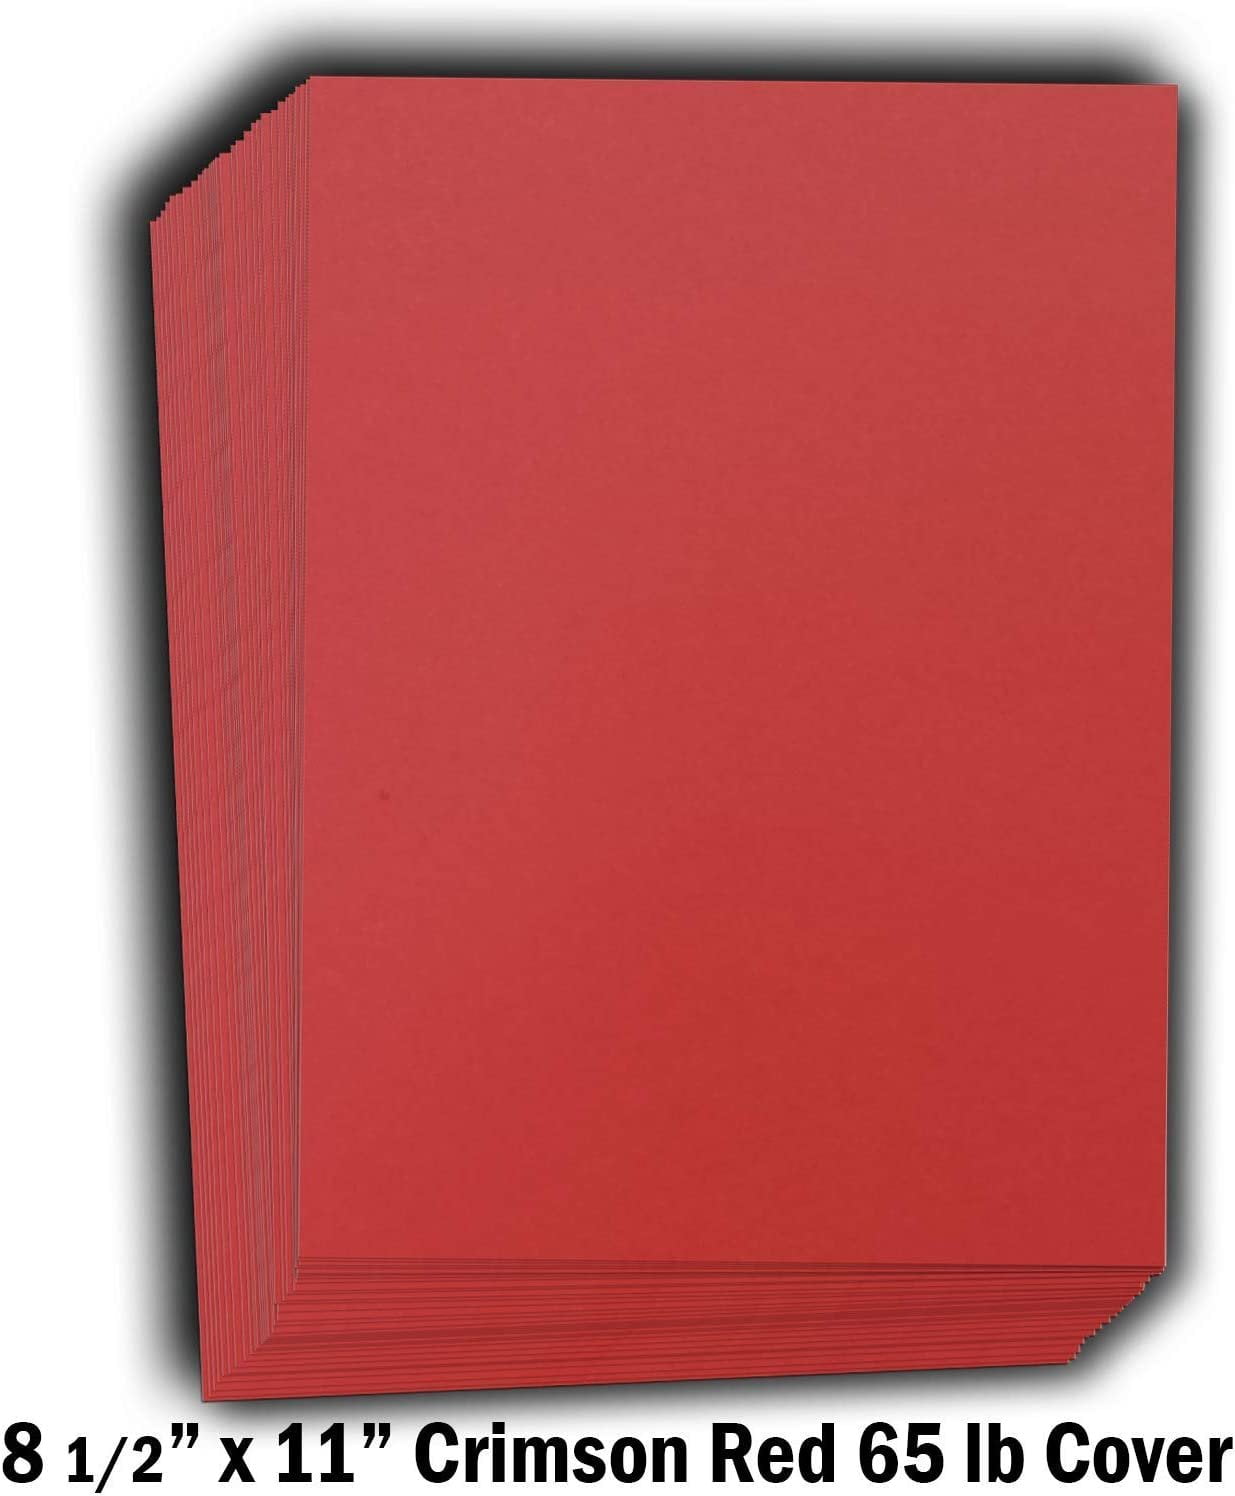
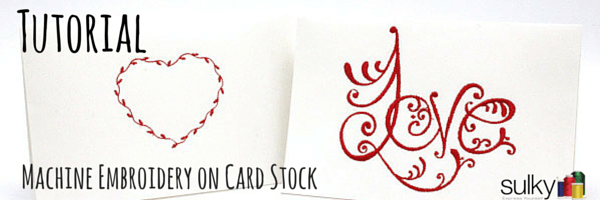
With so many amazing embroidery designs out there, creating awesome and very personal cards can be easy and fun! When I started doing research about this, I discovered that most people were saying that you could only use certain kinds on designs if you want to do machine embroidery on paper. The rebel in me couldn’t help but figure out how to do ANY design on paper. I mean, why not! Who says machine embroidery is just for fabric? People have figured out how the do embroidery on toilet paper for goodness sake, why not card stock and any design? So I figured it out and here is the tutorial just for you. Supplies Card stock – It comes in different weights. Everything from 65 lb – 110 lb. Any weight works fine, so choose the weight based on how thick or heavy you want your card. NOTE: The thicker the paper, the more often you may have to change your needle if you are making multiple cards. Sulky Fuse ‘n Stitch™ – This is the key to being able to put any design on paper. Sulky Fuse ‘n Stitch is a heavyweight fusible stabilizer that will fuse perfectly to the card stock and keeps the embroidery design looking great. Sulky 40 wt. Rayon Thread – You could use any of the Sulky threads: Rayon, Cotton, Metallic, or Polyester; but since most embroidery designs are digitized for 40 wt. rayon and I love the way the thread shines next to the matte of the card stock, I chose Sulky 40 wt. Rayon in Lipstick #561 (It’s my favorite red in the Sulky Rayon line). Remember…because the designs are generally digitized for the 40 wt. thread, using a lighter wt. thread it may not fill in as well, using a heavier thread maybe require some enlargement. So test when using different weights and types of thread. And remember to adjust your needle size accordingly. Sulky Sticky Plus™– This stabilizer is just sticky enough to hold the card in place during the embroidery, but not so sticky that it will tear the card stock when it finished. Organ Microtex Needle – I used a size 12/80. This needle is perfect because it pierces through the card stock and the stabilizer nicely, but doesn’t leave a huge hole behind. Use a new needle! Dry iron – You are going to iron on paper. Paper and water don’t mix. Start by picking your design. I chose this Love design. It’s a pretty intricate design and is almost 10,000 stitches so if this design will work, just about any design will if you follow these steps. If you choose a design with a satin stitch, you may want to test it first, just to be sure it doesn’t tear through the paper. You can do a simpler design like this heart that is a built in design on my machine. Fold your card stock in half and decide which side is the front of the card. On the back of that side, fuse a piece of Sulky Fuse ‘n Stitch. Iron just as the directions say, but do not use steam. Hoop Sulky Sticky+ in the proper size hoop for your design with the gridded, release sheet side up. Score the release sheet with a pin and remove it to expose the sticky part. Stick the card to the Sulky Sticky+ with the Fuse ‘n Stitch side sticking to the Sticky Plus. Attach the hoop to your machine and sew away! I used the Sulky Prewound bobbins in white for the bobbin thread, but you could also wind a bobbin with the same thread that you are using on the top. (Wrong side shown above and below.) Once the design is finished stitching, carefully remove the Sulky Sticky+ from the hoop and carefully remove the Sticky+ from the card. Be sure to tear towards the stitching line. You may need to iron the card again and then let it cool under a book, or something heavy, so the card doesn’t curl. TADA! You have beautiful and very personal cards. Happy Sewing
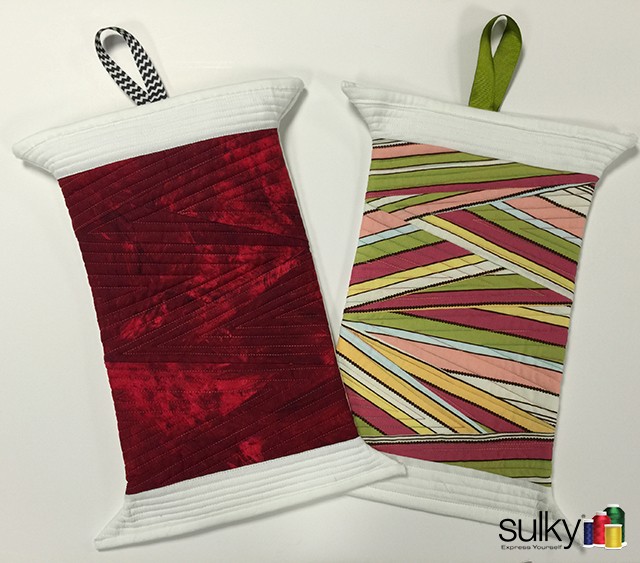
Christmas in July - Spool of Thread Stocking - Sulky
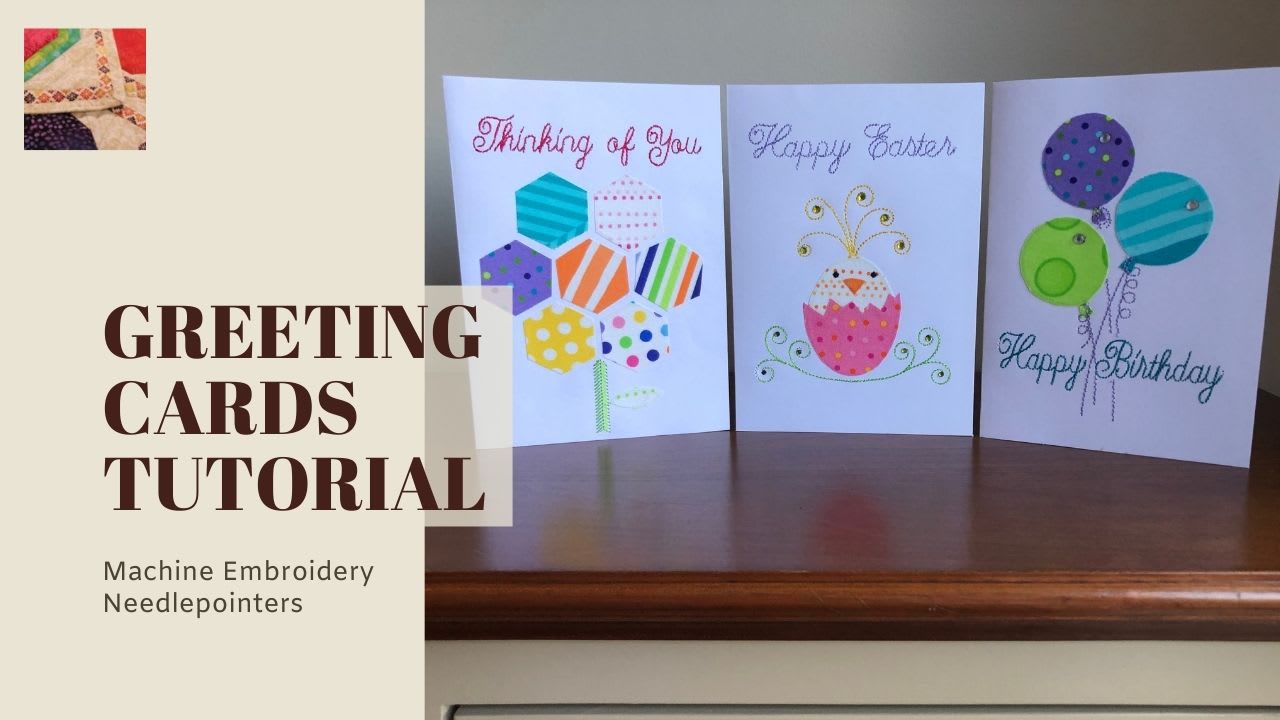
Make Greeting Cards with your Embroidery Machine

Monogrammed Mickey Ghost T-Shirt

How to Use Sulky Puffy Foam - Sulky Machine embroidery projects, Machine embroidery designs, Machine embroidery

Stabilizers - Notions: Home & Kitchen

Falcons Football in the Hoop Snap/rivet Key Fob DIGITAL

How to do Machine Embroidery on Cardstock - Sulky

Embroidered Greeting Cards in the Hoop - We'll Teach You How! - Sulky

Gunold Embroidery Design: Monogram Alphabet 1.34 inches H x 1.37

Faire-part de naissance Mains enlacées
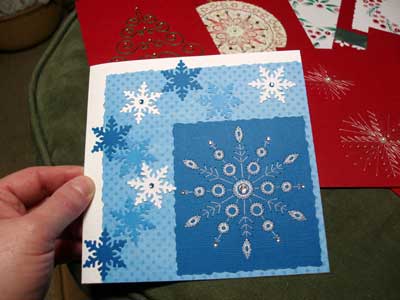
Hand Embroidery on Paper: Christmas Cards Assembled and Decorated –
Sulky Sewing Spoolie Design Freebie - Sulky

How to do Machine Embroidery on Cardstock - Sulky