Unleashing Creativity with Texture Pastes - Spellbinders Blog
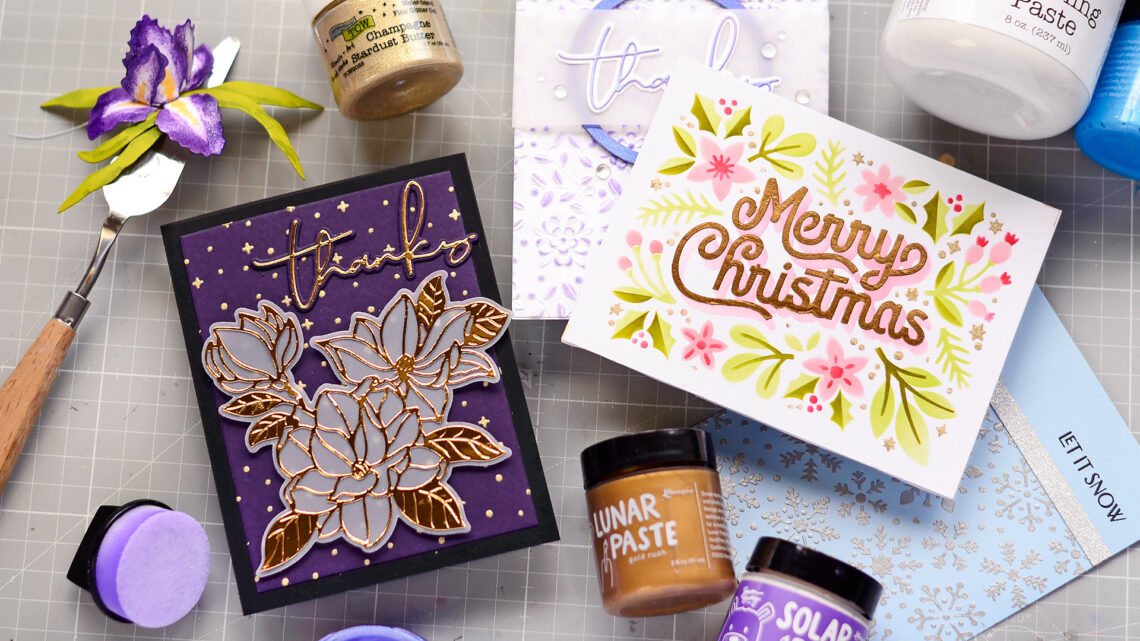
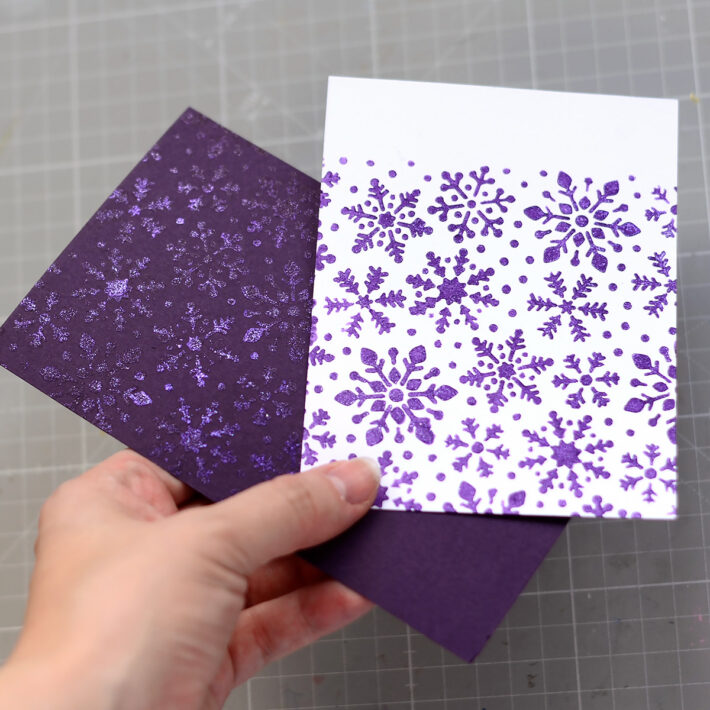
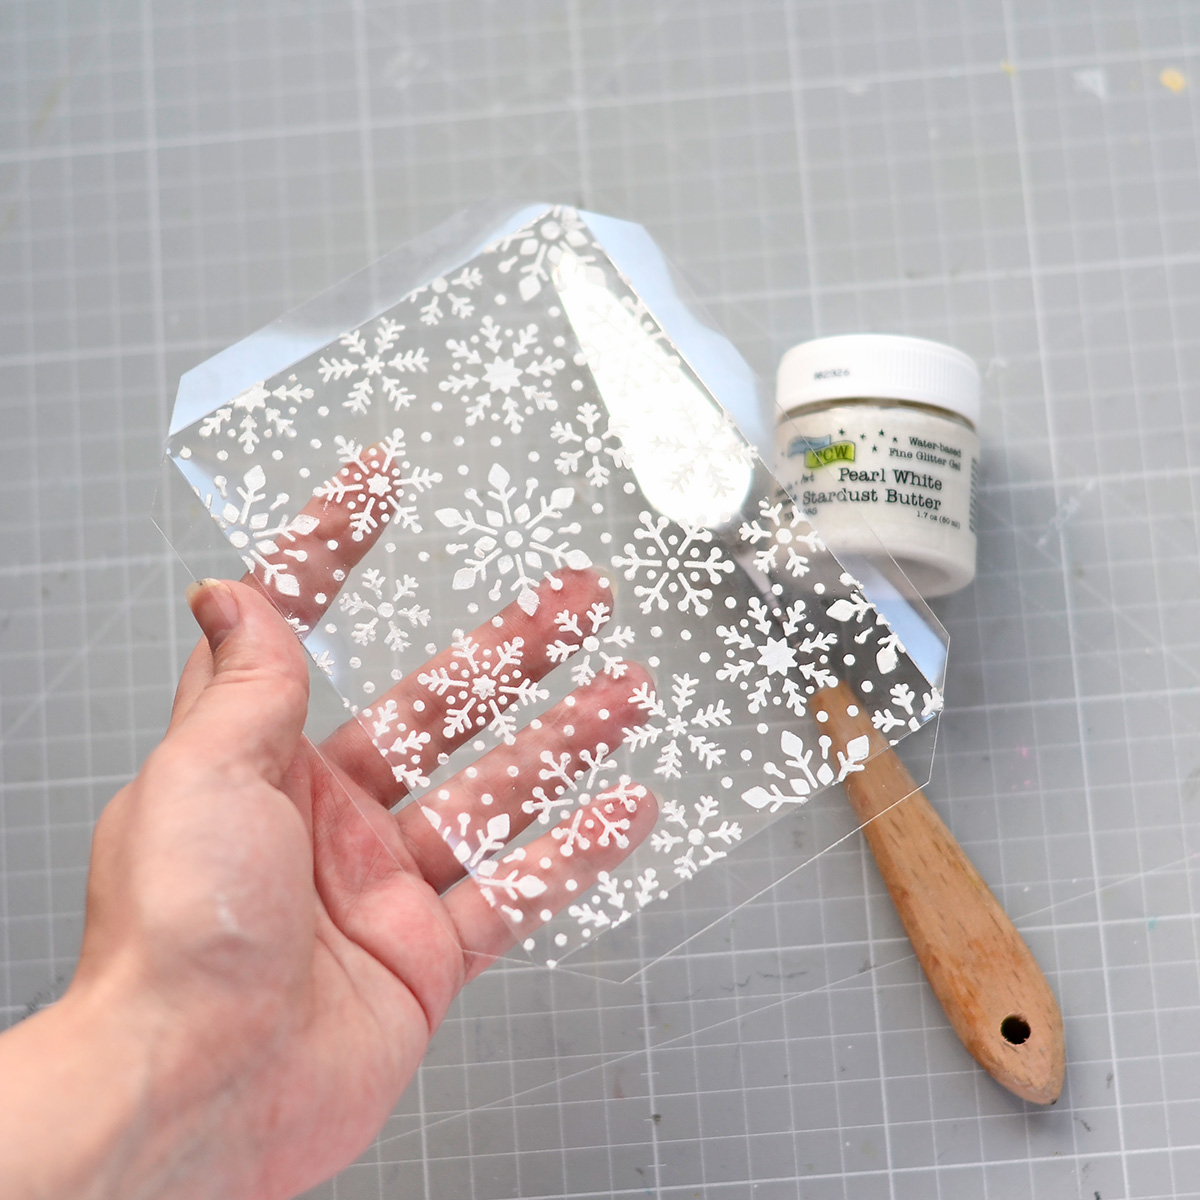
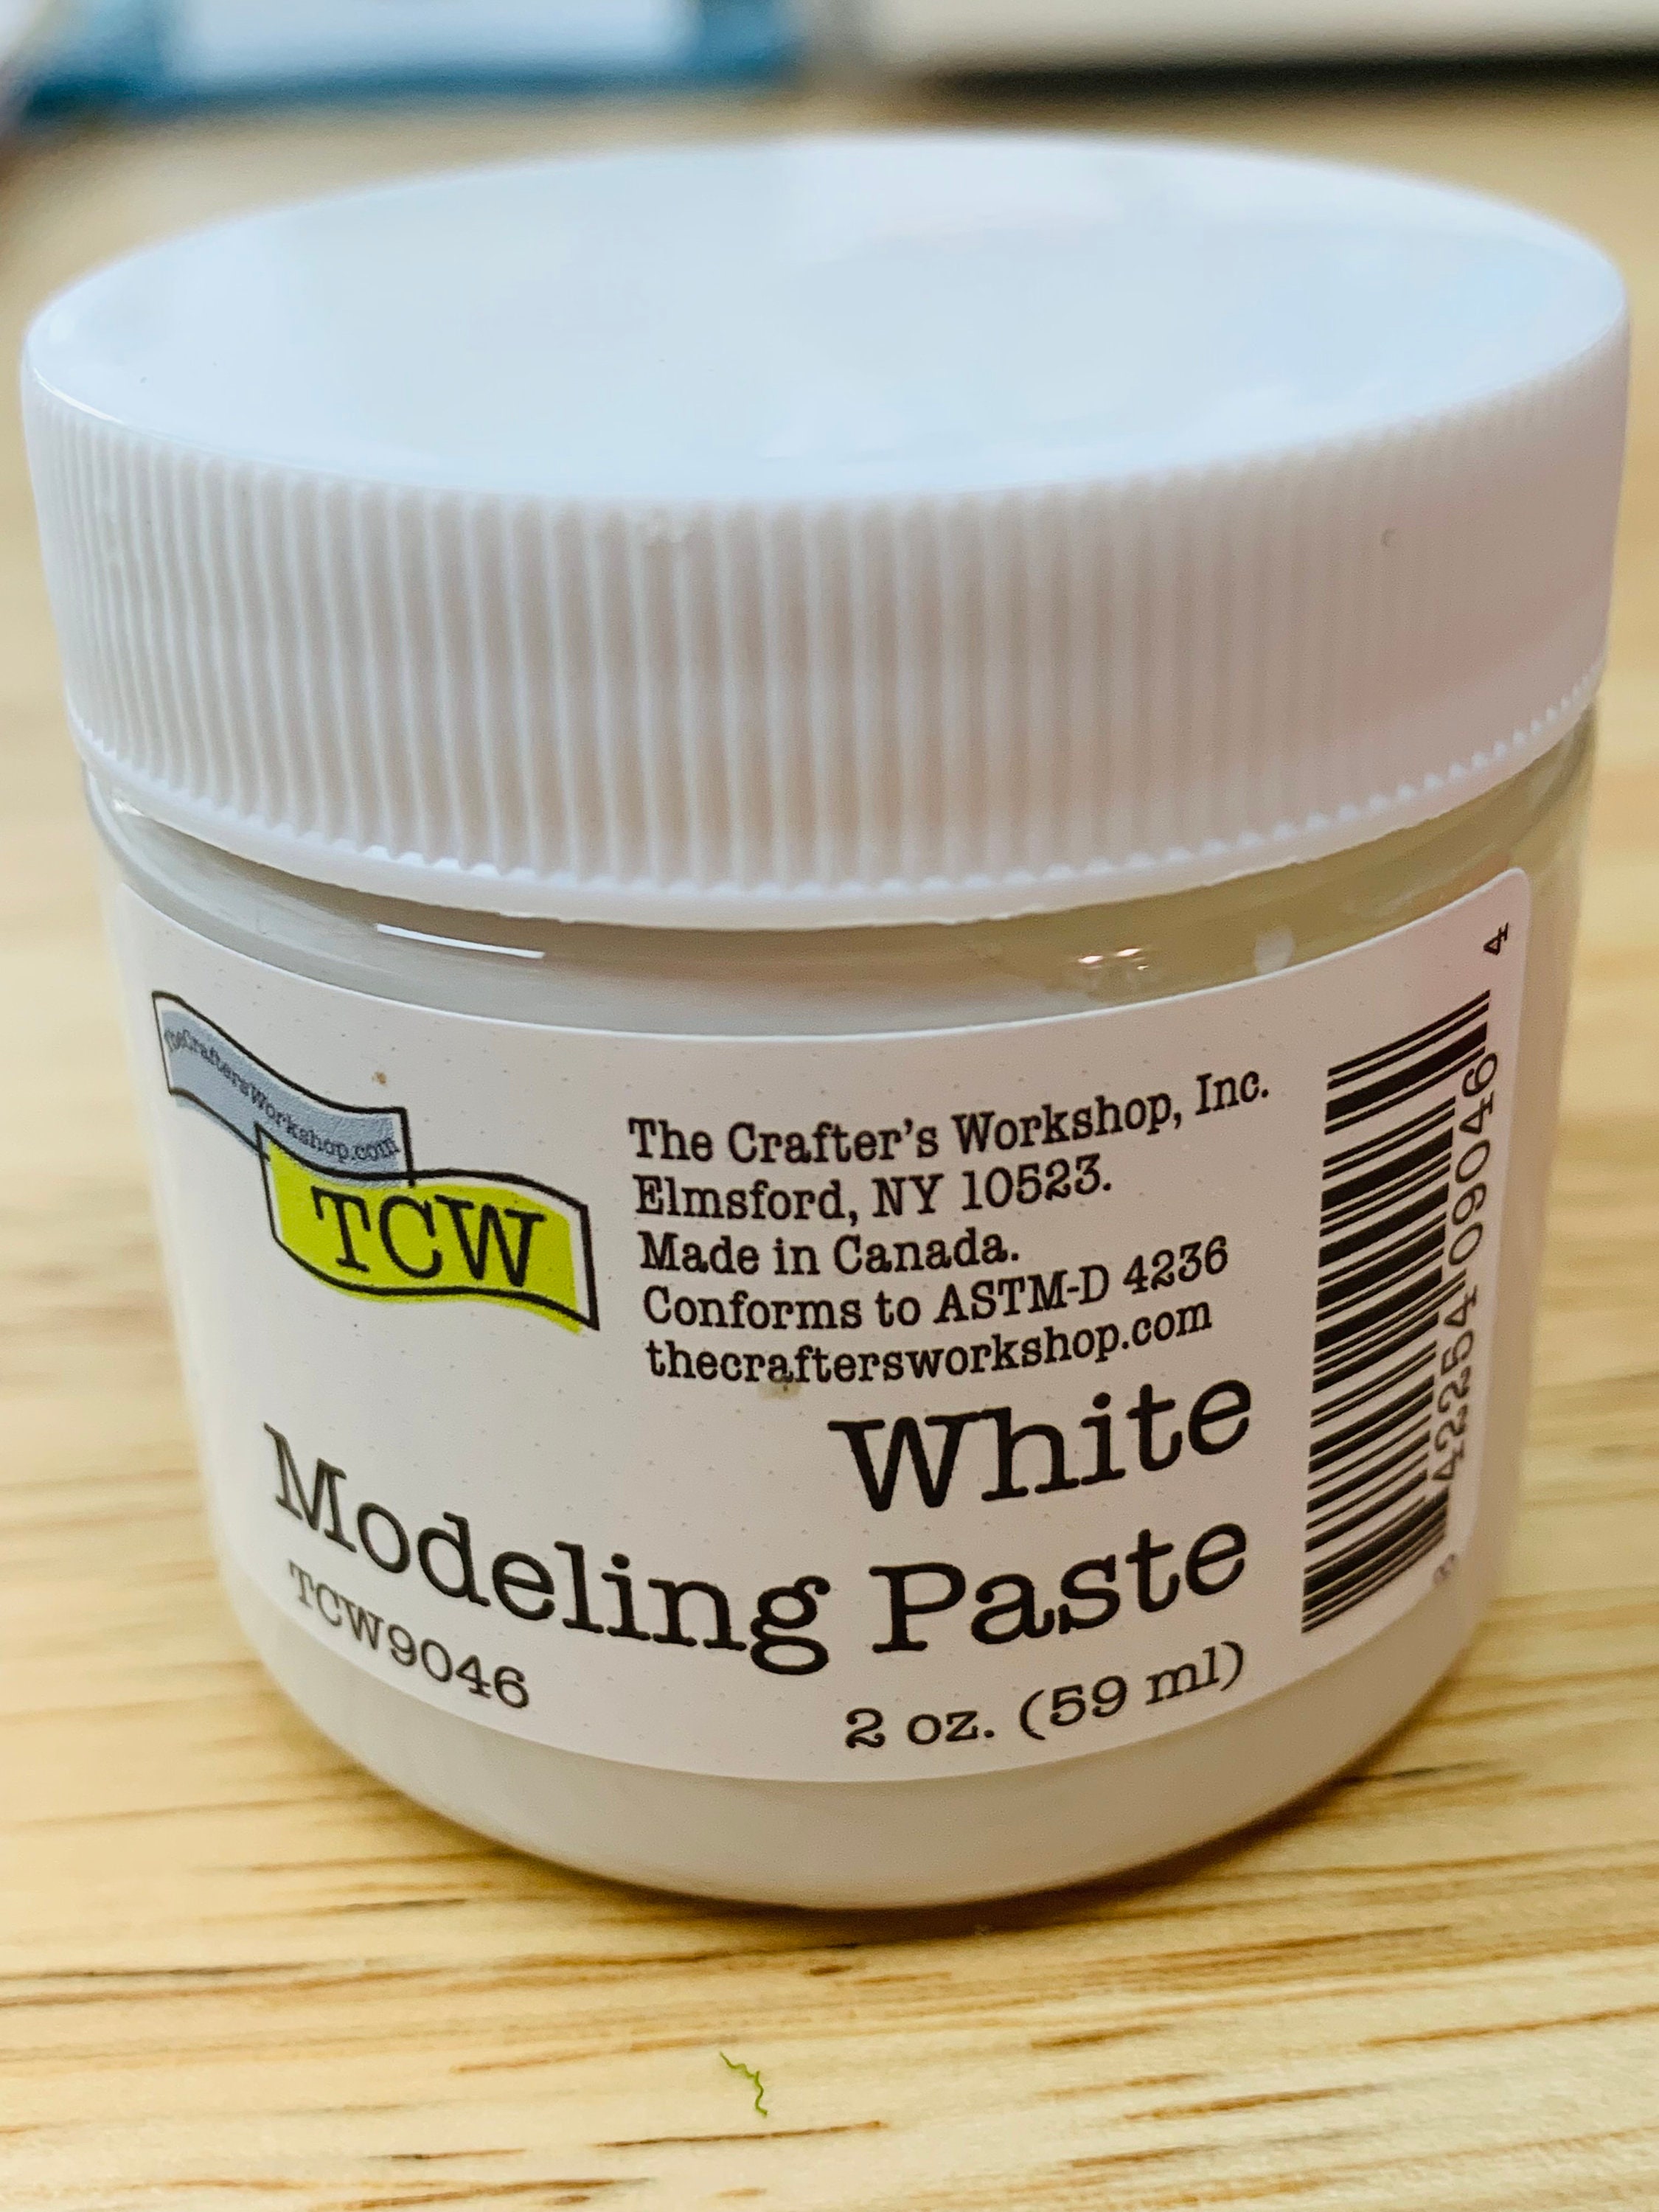
Texture pastes add dimension and tactile appeal to your projects, taking your paper crafting endeavors to new heights. In this blog post, we’ll delve into the world of texture pastes, exploring how to use them properly, what is the difference between them, what tools to use, tips for cleaning up, and smart storage solutions to keep your supplies organized. In Spellbinders online shop you can find all kinds of pastes from regular ones to shimmering, but which one to pick? Let’s start with the basics. Texture pastes are versatile mediums that allow you to add raised designs, patterns, and textures to your paper crafting projects. They come in various formulations, including opaque, translucent, and even shimmery varieties, offering endless possibilities for customization. Here’s how to get started: Choose the Right Paste: Select a texture paste that suits your project. Opaque pastes create bold, solid textures, while translucent ones add subtlety and depth. Shimmery or metallic pastes lend a touch of glamour to your creations. Below you can find more information about each paste. Gather Your Tools: You’ll need a palette knife or plastic card to apply paste, stencils, and a sturdy surface for applying the texture paste. I prefer to work on a glass mat, it is easy to clean, even the dry splatters. Prep Your Surface: Whether you’re working on a card, scrapbook page, or mixed media project, ensure your surface is ready for some mess. Most of the pastes can be applied on any surface: cardstock (use heavyweight cardstock), watercolor paper, canvas, clear acetate, chipboard, wood, glass, fabric, and more. Cleaning Up: Texture pastes can be a bit messy, but cleaning up is straightforward. Immediate Cleaning: Wash your palette knife and stencil immediately after use. Use warm water and soap to remove the paste before it dries. Grab some baby wipes or paper towels to clean up the tools and working surface. The Crafter’s Workshop Pastes The most regular pastes you may see are white texture pastes like Modeling Paste from TCW and Light & Fluffy Modeling pastes. White Modeling Paste: The White Modeling Paste from TCW is a versatile medium commonly used in mixed media art, painting, and crafting. It has a thick consistency and a white color when dry. This paste is typically used for creating texture, building dimension, and adding depth to artwork. It can be applied with a palette knife, brushes, or stencils to create raised or textured effects on various surfaces. Light & Fluffy Modeling Paste: The Light & Fluffy Modeling Paste, also from TCW, is designed to have a lighter and airier consistency compared to the White Modeling Paste. This paste is specifically formulated to be lightweight and more suitable for creating softer textures and delicate effects. It can be used to add subtle texture and dimension to artwork without weighing it down. Like the White Modeling Paste, it can be applied with tools like brushes, palette knives, or stencils. Light & Fluffy Modeling Paste has a brighter white color after drying and is less thick, see the photo above, the Light & Fluffy Modeling Paste applied on the bottom. Both types of pastes work wonders when applied through stencils, capturing even the tiniest intricacies. Their adaptability shines on white, colored, or ink-blended cardstock, offering a chance to craft remarkably versatile patterns. After the paste dries, it’s time to infuse some color using inks. Modeling pastes absorb the color entirely, while Light paste creates a subtle resist effect on the card panel. You can add your own twist by mixing the paste with ink or acrylic paint beforehand. This simple step lets you create a textured paste tailored to your vision. Achieving a captivating ombre effect doesn’t require an extensive palette of colors. With just white modeling paste and a single ink color, you can create a truly mesmerizing gradient that adds depth and elegance to your project. To create a brighter color of texture paste use alcohol inks with it. Combine applying the paste with the ink to create a double-texture background. Customize texture paste effortlessly by incorporating glitter. Apply paste through a stencil, then generously sprinkle glitter over it. Lightly press with your fingers and remove the stencil for a dazzling effect. For those drawn to the allure of shimmer, exploring shimmering pastes and gels is a must. Among these, the STARDUST BUTTER CHAMPAGNE from TCW stands out as a gem. This light gold gel boasts a creamy texture reminiscent of real butter, enriched with ultra-tiny glimmer mica that adds a touch of magic to your creations. It’s perfect for creating a shiny patterns, even on the dark surfaces: Pro Tip: To prevent any gel leaks, securely attach the card panel to the stencil using paper tape or masking tape. This simple step ensures a tidy and controlled application process. Or use the gel for adding shimmering accents: TCW gels are as versatile as traditional texture pastes, accommodating different surfaces. Try something unique by using STARDUST BUTTER PEARL WHITE gel on clear acetate to create a captivating shaker pocket. LUNAR PASTES FROM RANGER Another beautiful gold paste is RANGER LUNAR PASTE GOLD RUSH BY SIMON HURLEY CREATE. It has a metallic shimmer and more deeper gold color shine. On the example below you can see STARDUST BUTTER CHAMPAGNE from TCW on the left and LUNAR PASTE GOLD RUSH on the right. LUNAR PASTE GOLD RUSH feels thicker than the TCW gel and has a rich gold metallic color without mica/glitter parts. They both can be used with stencils or to color paper, wood, fabric etc. Lunar Pastes offers a diverse array of colors, each adorned with a captivating, shiny finish. These pastes radiate brilliance on both white and dark paper, showcasing their vibrant hues in any setting. Tip: Enhance your card’s visual appeal by applying RANGER LUNAR PASTE SILVER LINING to a portion of the card panel. This approach creates a single-layer textured card, leaving room for a stamped sentiment that beautifully complements the intricate texture. SOLAR PASTES FROM RANGER Another paste line from Ranger is Solar paste. What is the difference between Lunar paste and Solar paste? Lunar Pastes showcase vivid opaque metallic colors inspired by Simon Hurley’s Create line. In contrast, Solar Pastes features a creamy white base that transforms into a mesmerizing iridescent metallic shade when light strikes. Harness the power of this paste to craft your very own shimmering iridescent cardstock. With this personalized touch, you’re all set to design captivating die cuts or shiny paper card panels that exude creativity and fun. Enhance the texture of your embossed card panels by applying the paste with your fingertips. This simple technique adds a striking accent to the textured paper, elevating your creations with a touch of artistic flair. This technique works with all colors of cardstock! COSMIC SHIMMER PASTES FROM CREATIVE EXPRESSIONS How about to add even more shine? Prepare to be captivated by the stunning allure of the polishes from Creative Expressions. Whether you’re looking to amplify the shine on a card panel or enhance a die cut, the BLUE WISTERIA COSMIC SHIMMER OPAL POLISH and PLUMTASTIC COSMIC SHIMMER LUSTRE POLISH are set to astonish you with their sheer beauty and radiant charm. Each bottle goes with a sponge for easier application. Don’t forget to prime the sponge before using it. Prime the sponge before using it by wetting it with warm soapy water then press out the excess water. Dip the sponge into the polish and apply in a circular motion to highlight details or cover an entire area. Can also be applied by finger, cloth, roller, or even stamp. It has a thin creamy texture, but can it be used with stencils? Sure! Tab the polish through the stencil with the sponge and get an amazing shinny no-texture pattern. When it comes to coloring the top of textured paper, a sponge proves to be a convenient choice. Its versatility makes the coloring process smoother and more manageable, ensuring your textured paper receives a flawless touch of color. Achieve an enchanting ombre effect by blending both polishes on a single panel, just as demonstrated on the left panel. This captivating technique lets you seamlessly merge the beauty of both polishes, resulting in a stunning gradient that adds depth and allure to your project. It can be applied on different surfaces like acetate and chipboard: Add a special gleam to the die-cut petals of your iris flower using the PLUMTASTIC COSMIC SHIMMER LUSTRE POLISH. This effortless step infuses your floral creation with an enchanting and distinctive shine. CONCLUSION As we wrap up this journey through the realm of texture pastes, gels, and polishes, it’s clear that crafting knows no bounds. From the dazzling shimmer of Lunar Pastes to the personalized touch of glitter-infused Texture Pastes, your creative toolkit has expanded significantly. So, let your imagination run wild, experiment fearlessly, and let the magic of texture pastes and gels transform your projects into captivating works of art. From vibrant colors to elegant shine, the possibilities are endless. Let your creativity flourish and your projects shine with these remarkable textures at your fingertips. Happy crafting! Galina

6 Tips to Quickly Conquer the Fear of Running Out and Immediately Unleash Your Creativity

The Papercraft Society - Monthly Craft Subscription Boxes

Unleashing Creativity with Texture Pastes - Spellbinders Blog
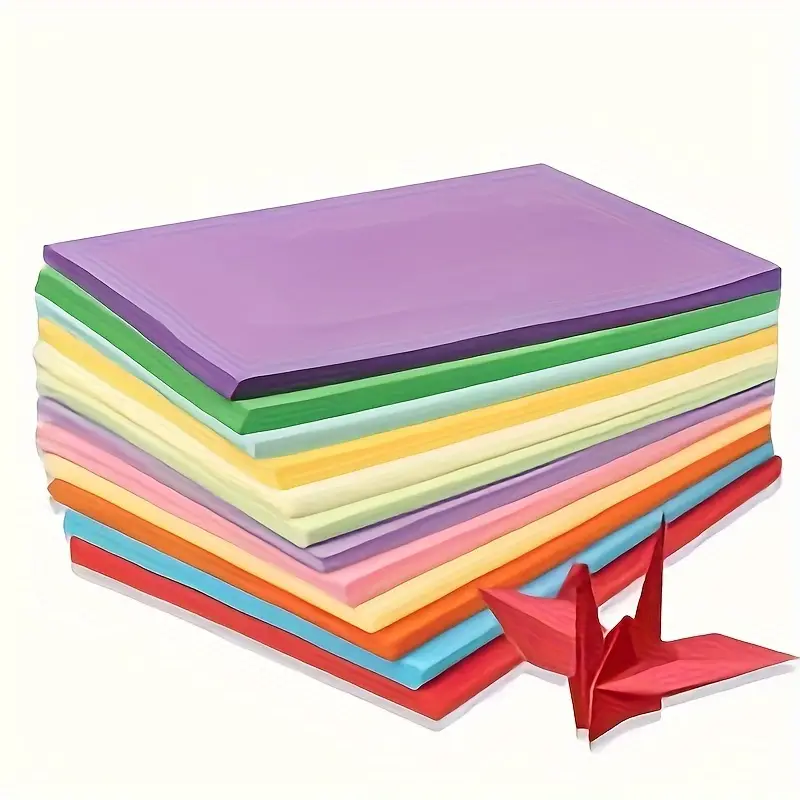
Let's Get Artsy 8x8 Collection Pack from Graphic 45! This Let's Get Artsy 8x8 Collection Pack is a vibrant collection that celebrates art! Packed with creativity and features a dazzling array of bright colors and designs inspired by some of the world's most iconic artists, including Van Gogh. Embrace the creativity of this collection and let your imagination run wild. 24 double-sided 8×8 sheets, 8 designs (3 of each). Acid & lignin free.
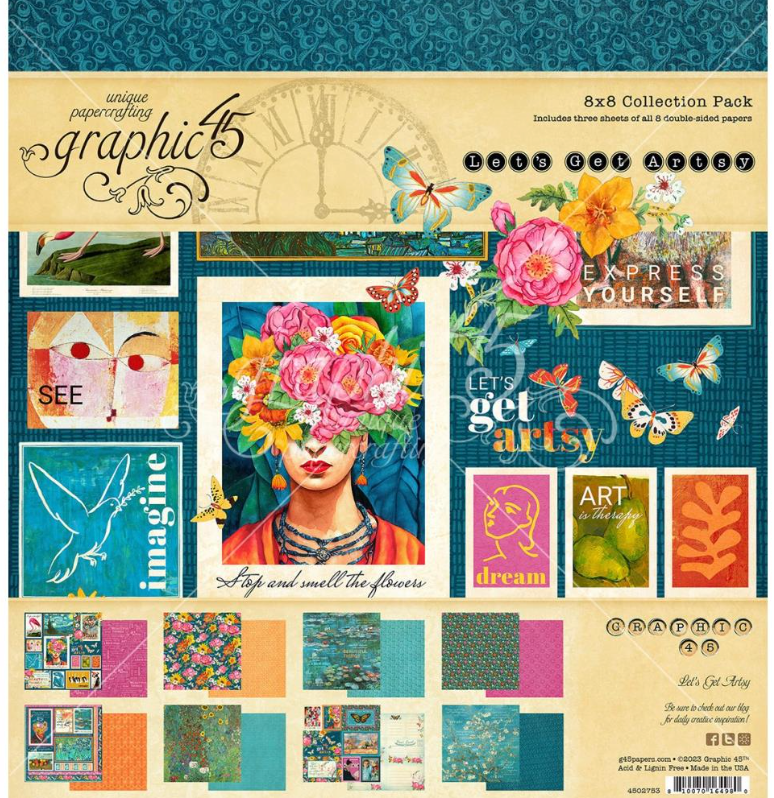
Graphic 45 Let's Get Artsy 8x8 Collection Pack (G4502753)
Creative Expressions - Spellbinders Paper Arts

Such a Pretty Mess: Making My Own Texture Paste!! Fun with Websters Pages Storytellers AND A Websters Pages FREEBIE!! PLUS Another Webster Treat ~ {Sprinkles Craftbox}!!!
Unleashing Creativity with Texture Pastes - Spellbinders Blog

Such a Pretty Mess: Making My Own Texture Paste!! Fun with Websters Pages Storytellers AND A Websters Pages FREEBIE!! PLUS Another Webster Treat ~ {Sprinkles Craftbox}!!!
Unleashing Creativity with Texture Pastes - Spellbinders Blog
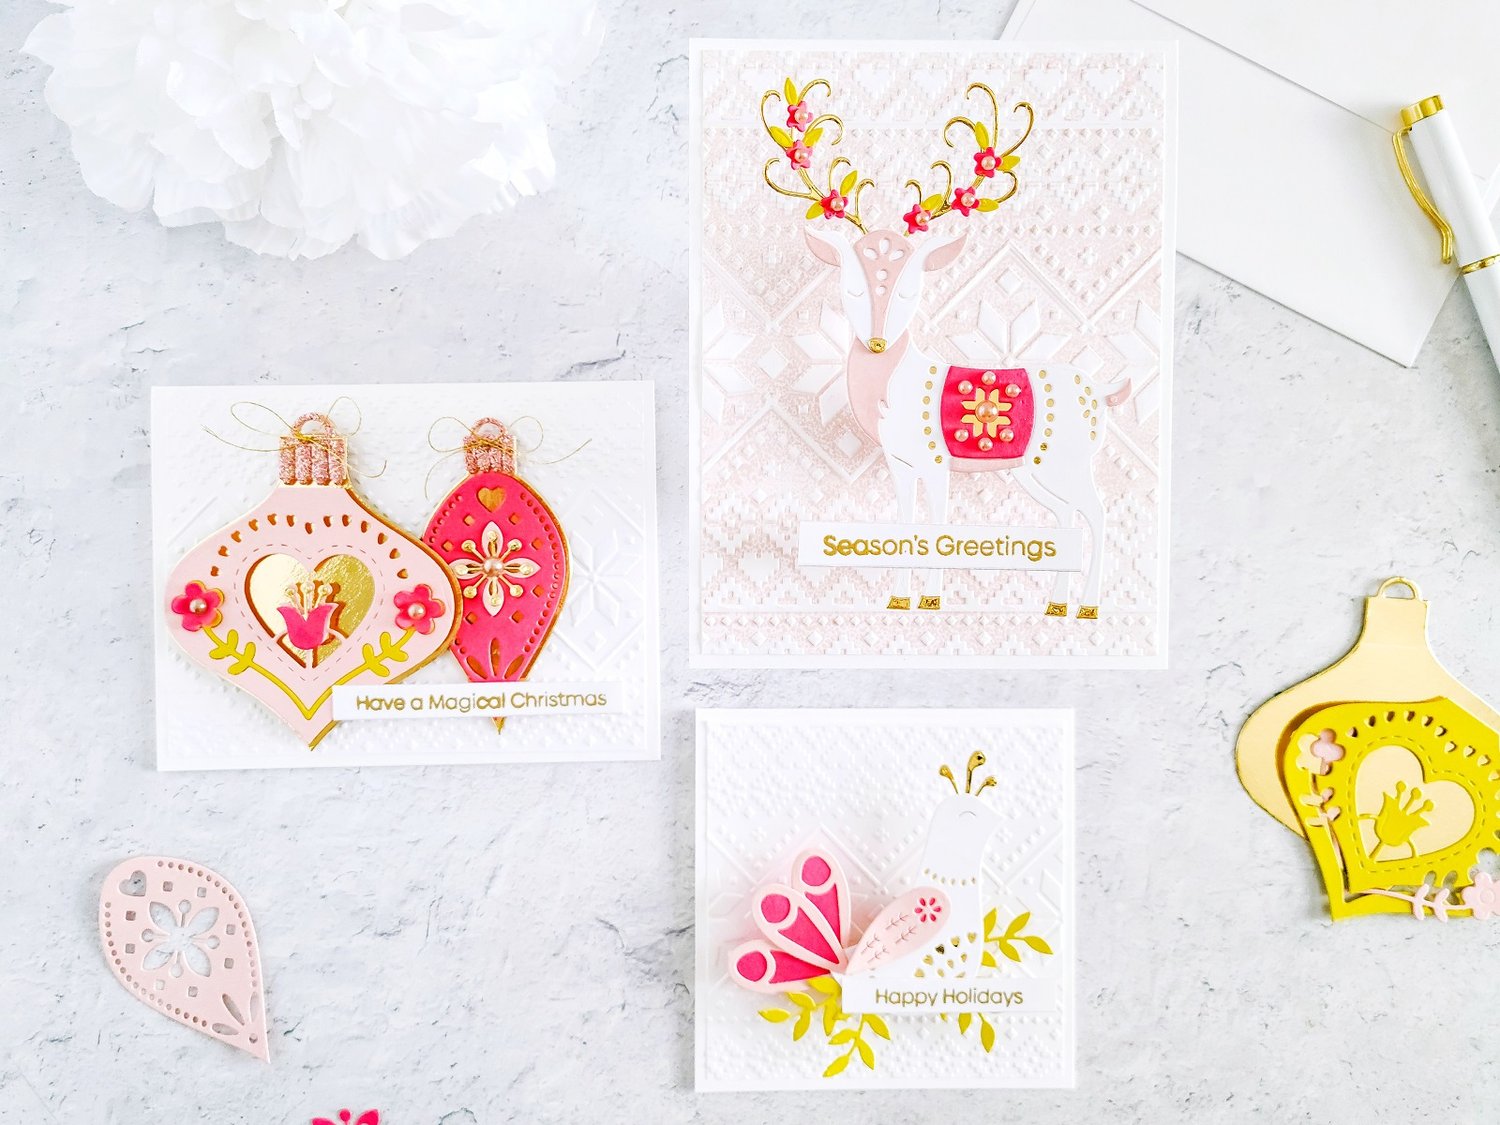
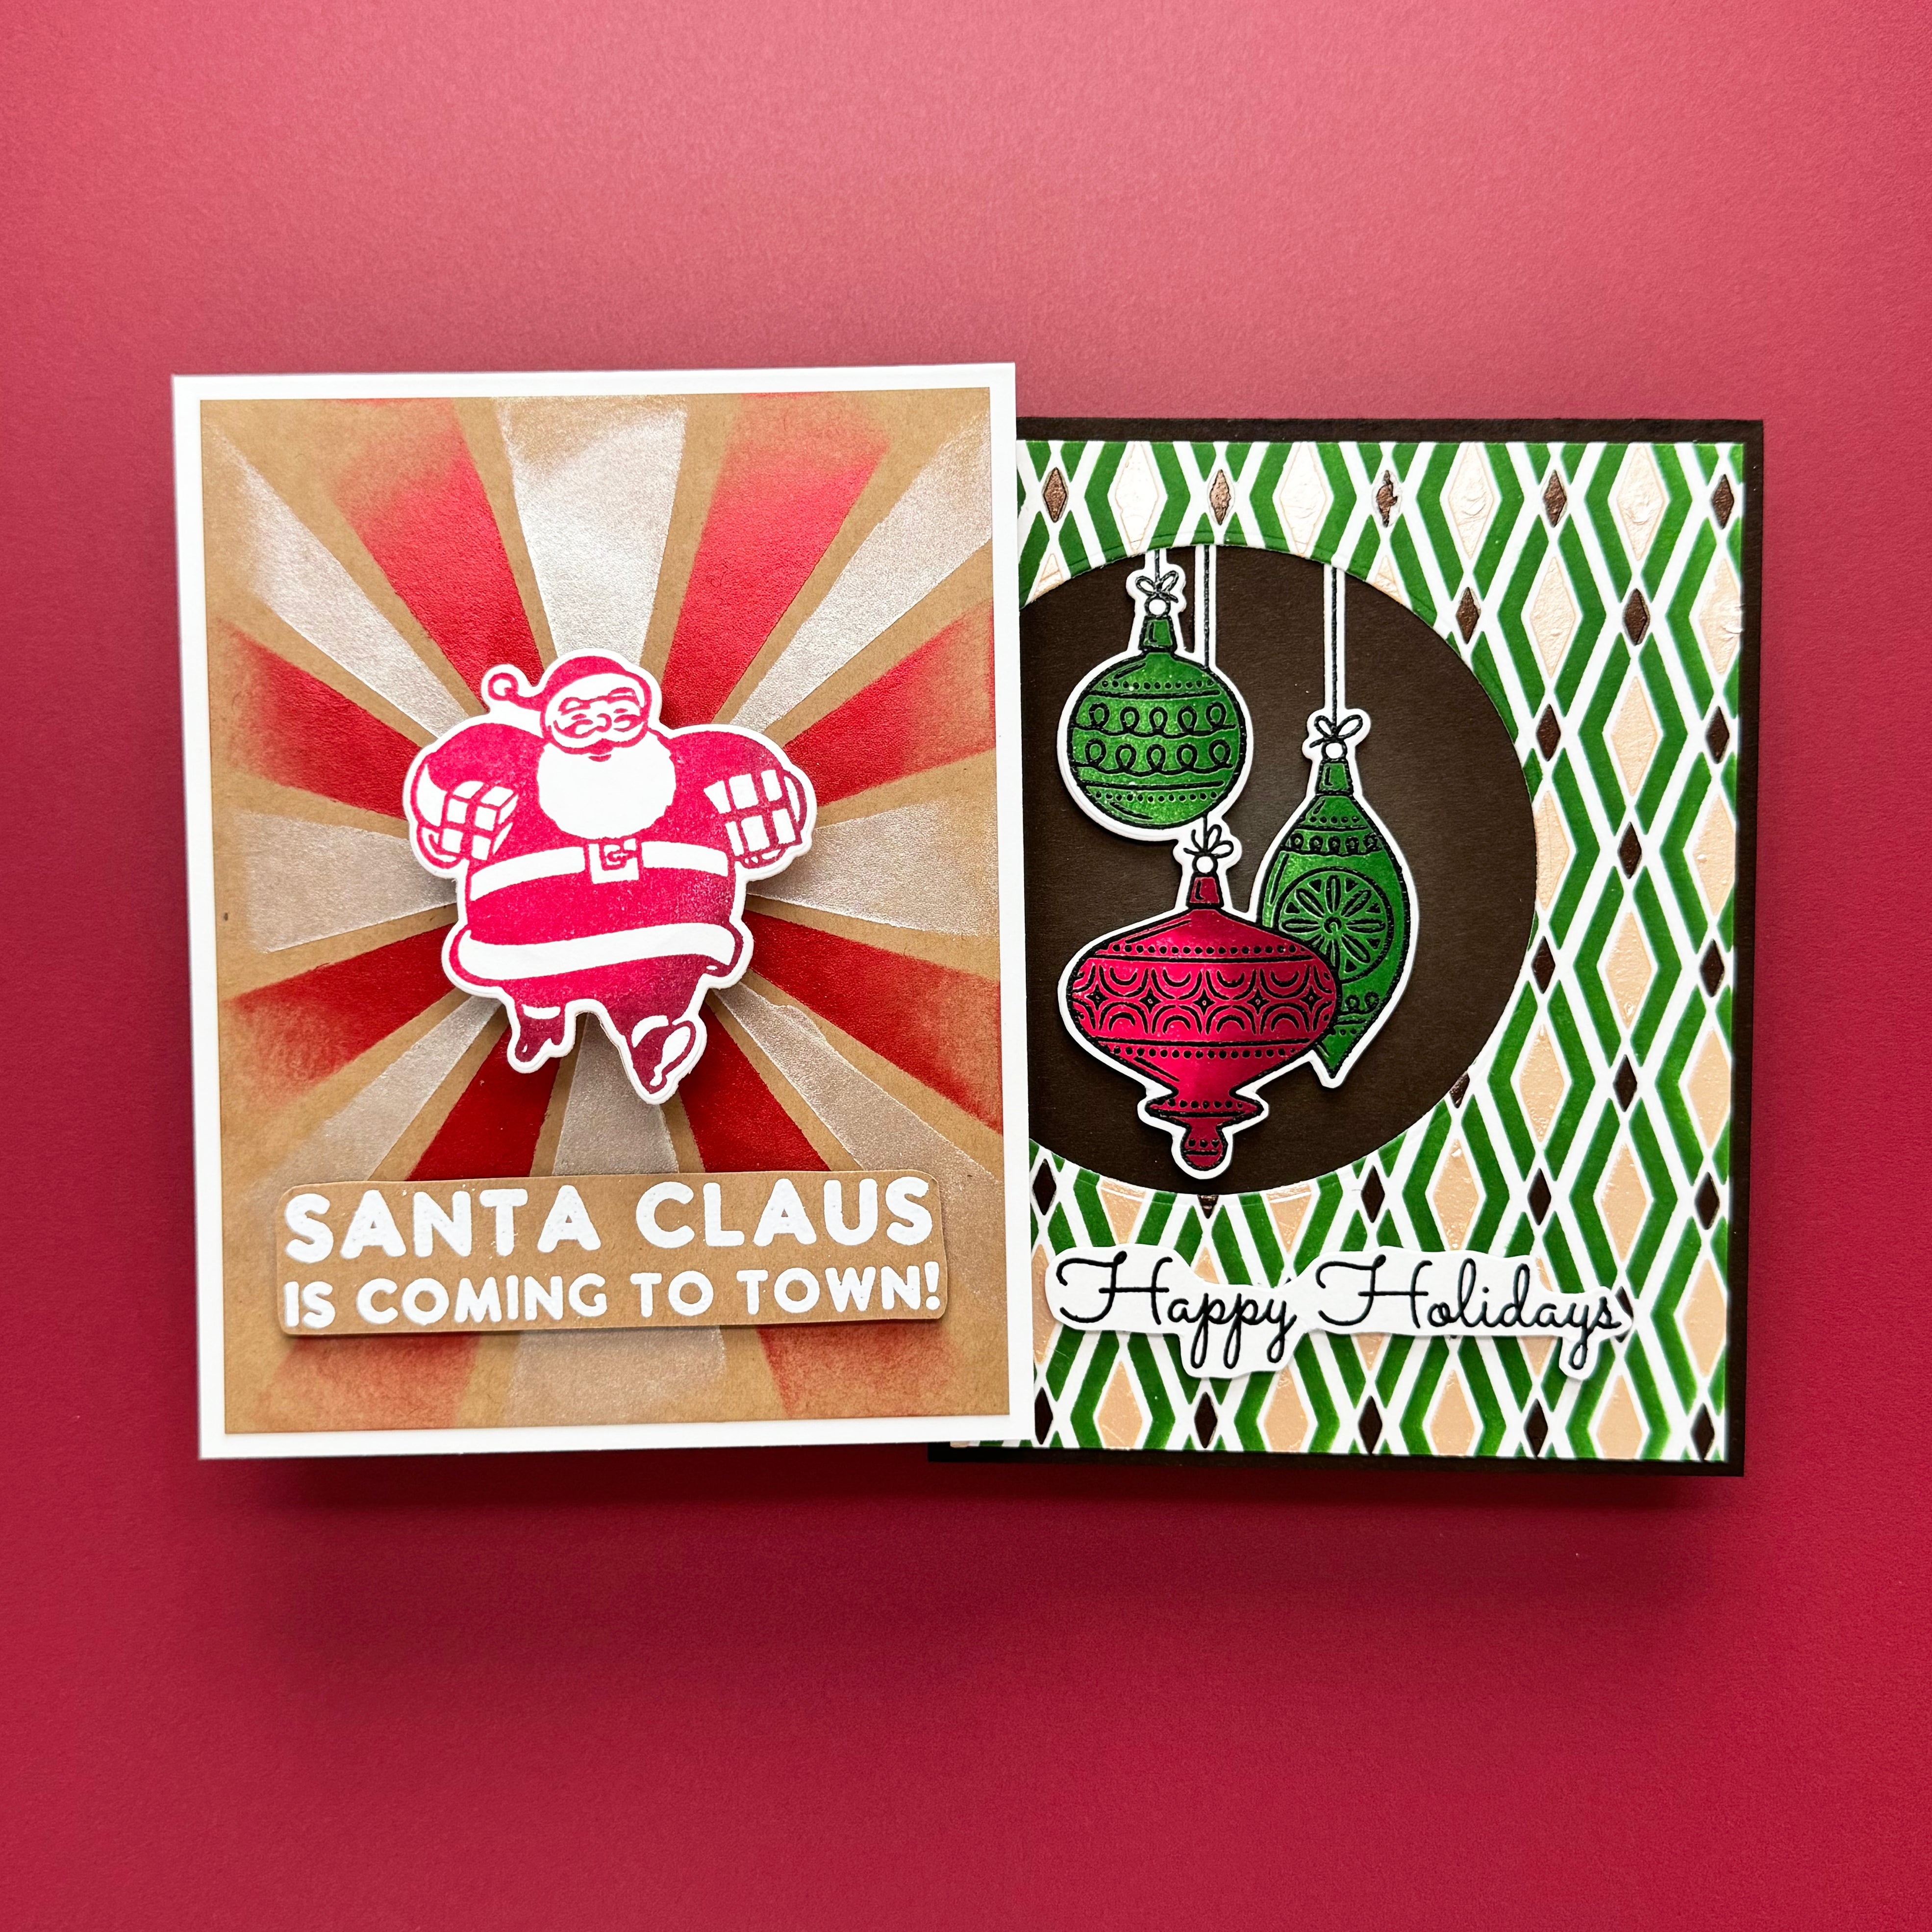
Spellbinders Winter Tales Collection┃Inspiration Cards — CARDSANDCRAFTSBYYAZ

ThermOWeb and Heffy Doodle Collaboration Blog Hop
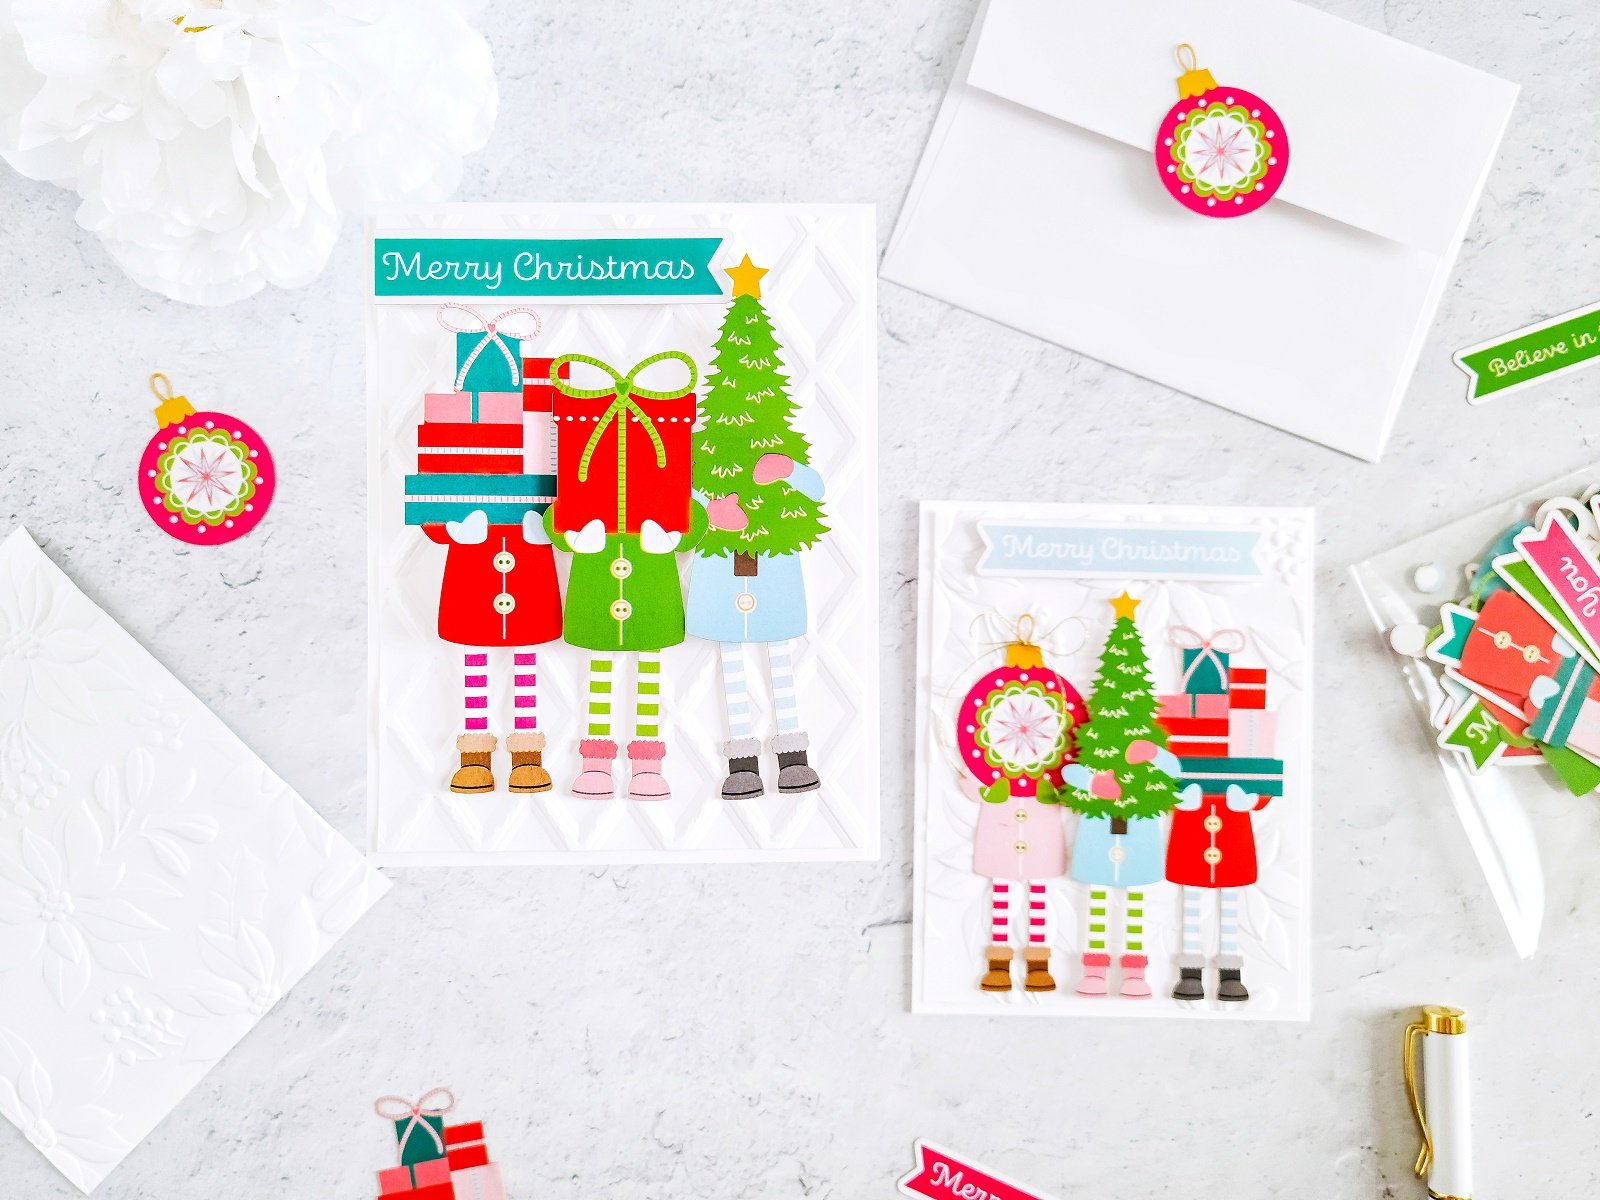
Spellbinders Oh What Fun! Collection┃Inspiration Cards — CARDSANDCRAFTSBYYAZ

To Creative Doodling … and Beyond!
Light And Fluffy Modeling Paste Shop Discounts

Grunge Paste Tutorial: Unleash Your Creativity